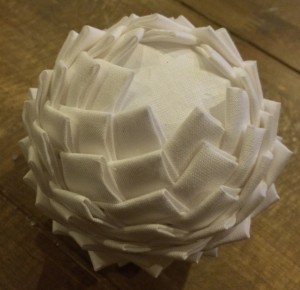
 To round out this Spring series of decorative balls, I give you the Fabric Petal Balls (^_^). These are super easy! Not as easy as the Twine balls, but way less time consuming than the hydrangea balls. They also give a little different texture when you put all of them together. I initially found these on Pinterest before Christmas and HAD to make them. Knitty Gritty Thoughts explained everything PERFECTLY!
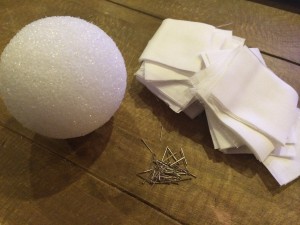 What you’ll need:
- Fabric
- Pins
- Styrofoam Ball (This is a 3-in styrofoam ball)
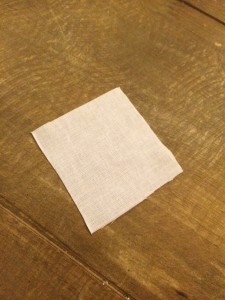
Cut the fabric into 2 in x 2 in squares. You can make these with any color or print of fabric you want (You can even make ombré!!), but for these I chose an off-white so I can reuse them for all of the seasons (^_^).
TIP: I usually cut long 2 in wide strips of fabric and then fold into 2 in multiples to make cutting easier (e.g. I’ll have a piece of fabric that is 4 in by 32 in. I will cut this in half to make two 2 in by 32 in pieces. I will than fold and cut each piece in half the hamburger-ways to make two 2 in by 16 in pieces, than two 2 in by 8 in, than two 2 in by 4 in, than two 2 in by 2 in. I layer the halved cuts so I only make the cuts once, that is until the pile gets too thick to cut (^_^).) They don’t have to be perfect squares, most of it will get covered up.
TIP: To make it a little easier on yourself, you can use ribbon so you only have to measure length-wise, just use a 2 in wide ribbon.
VARIATION: You can also make these with thinner squares, but you’ll need more squares of fabric to cover the balls. You could probably even vary the size of squares!
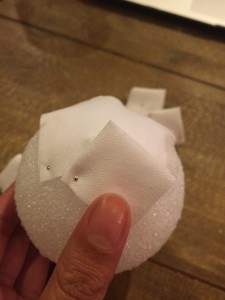
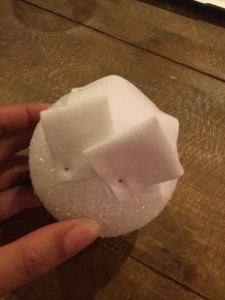
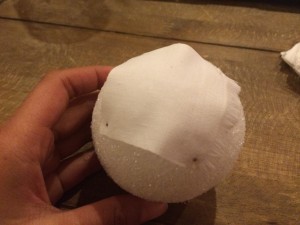 Next, you’re going to take one of the squares of fabric, place it on the styrofoam ball and pin each corner. I used sequin pins since the fabric was pretty thin, but if you use thick fabric, you’ll have to use longer pins.
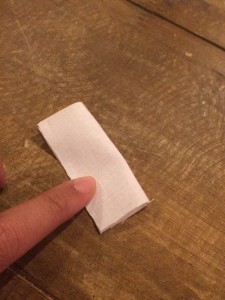
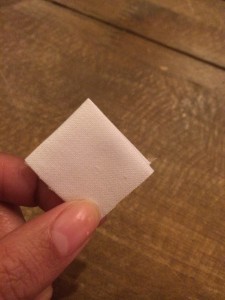
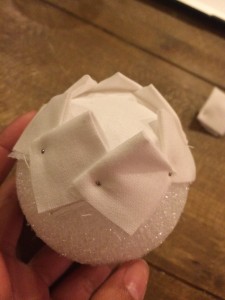
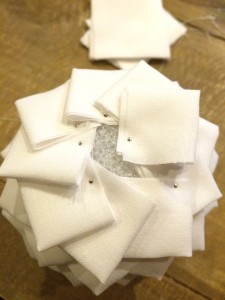
To make the petals, take one square, fold it in half in one direction, and fold it in half in the opposite direction. The cut edges will face the bottom with the open folded side facing the right. Like with the hydrangea petals, I will make multiple of these at a time for my little assembly line (^_^).
Take this petal and place a pin through the left point onto the white square of fabric on the styrofoam ball. You’re going to overlap the petals moving to the right.
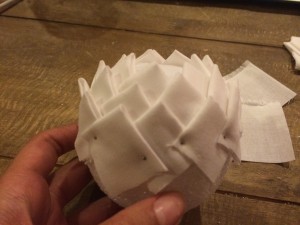
Like the Hydrangea Balls, you’re going to repeat this process making circles down the styrofoam ball. The closer the petals, the more you’ll need. I usually just try to space them so the tops of the pins get covered.
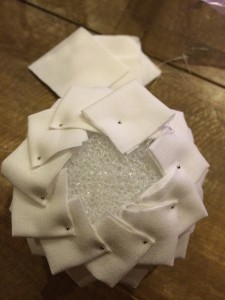
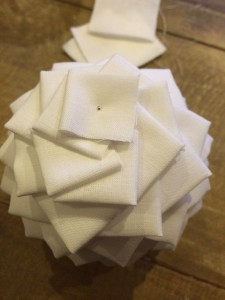
When you get closer to the bottom, you’re going to begin overlapping them a little differently. You’re still going to overlap them moving toward the right, but you’re going to place the pin in the middle-bottom of the square. You’ll continue to do this until you cover the bottom. The last petal will be pinned through the middle.
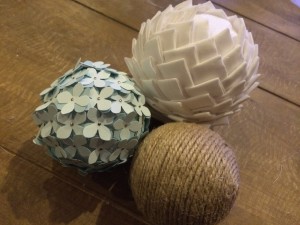 See! Pretty simple (^_^). Don’t they look nice together?
Get ready for my next post on one of my FAVORITE meals!!! VACA FRITA!!!
Leave a Reply