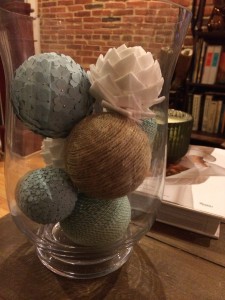
 I love LOVE LOVED the Hydrangea balls, but I needed some kind of neutral and a different texture to balance out the hydrangea petals. That being said, I liked the twine balls from Wedding Favours, but I didn’t have any balloons and I had one of those “I want to do it now!” moments (^_^). Thanks to Pinterest, I found Factory Direct Craft‘s Tutorial. Out of the three types of balls you see in the vase, the twine is by far the easiest and least time consuming.
Fun Fact: There are different materials that twine can be made out of and each has its own purpose. I usually have butcher’s twine that is made out of cotton and jute twine. Besides using twine for cooking, I love using it to give wrapped presents or boxes a more rustic/shabby chic look.
What you’ll need: 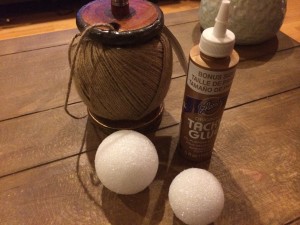
- Twine, string, yarn, or any other string-like material
- Styrofoam ball (the one in this tutorial is a 2½ in)
- Tacky Glue
THREE things! That’s it folks!!
I used two different types of twine for the balls in vase, jute twine and some baker’s twine I found in the Target Dollar Bins. Yes, I’m one of those “53 Thoughts Every Girl Has While Shopping at Target” Girls (^_^).
TIP: The thicker the twine the less you will need to cover the ball. The blue and white dollar butcher’s twine I bought from Target is super thin and took almost 20 yards (two dollar spools) to do one 3 in ball and one 2 in ball combined. Comparatively, I used less than 5 yards of jute twine for this tutorial. For you folks that like the SI system that’s around 183 meters and 4.4 meters respectively.
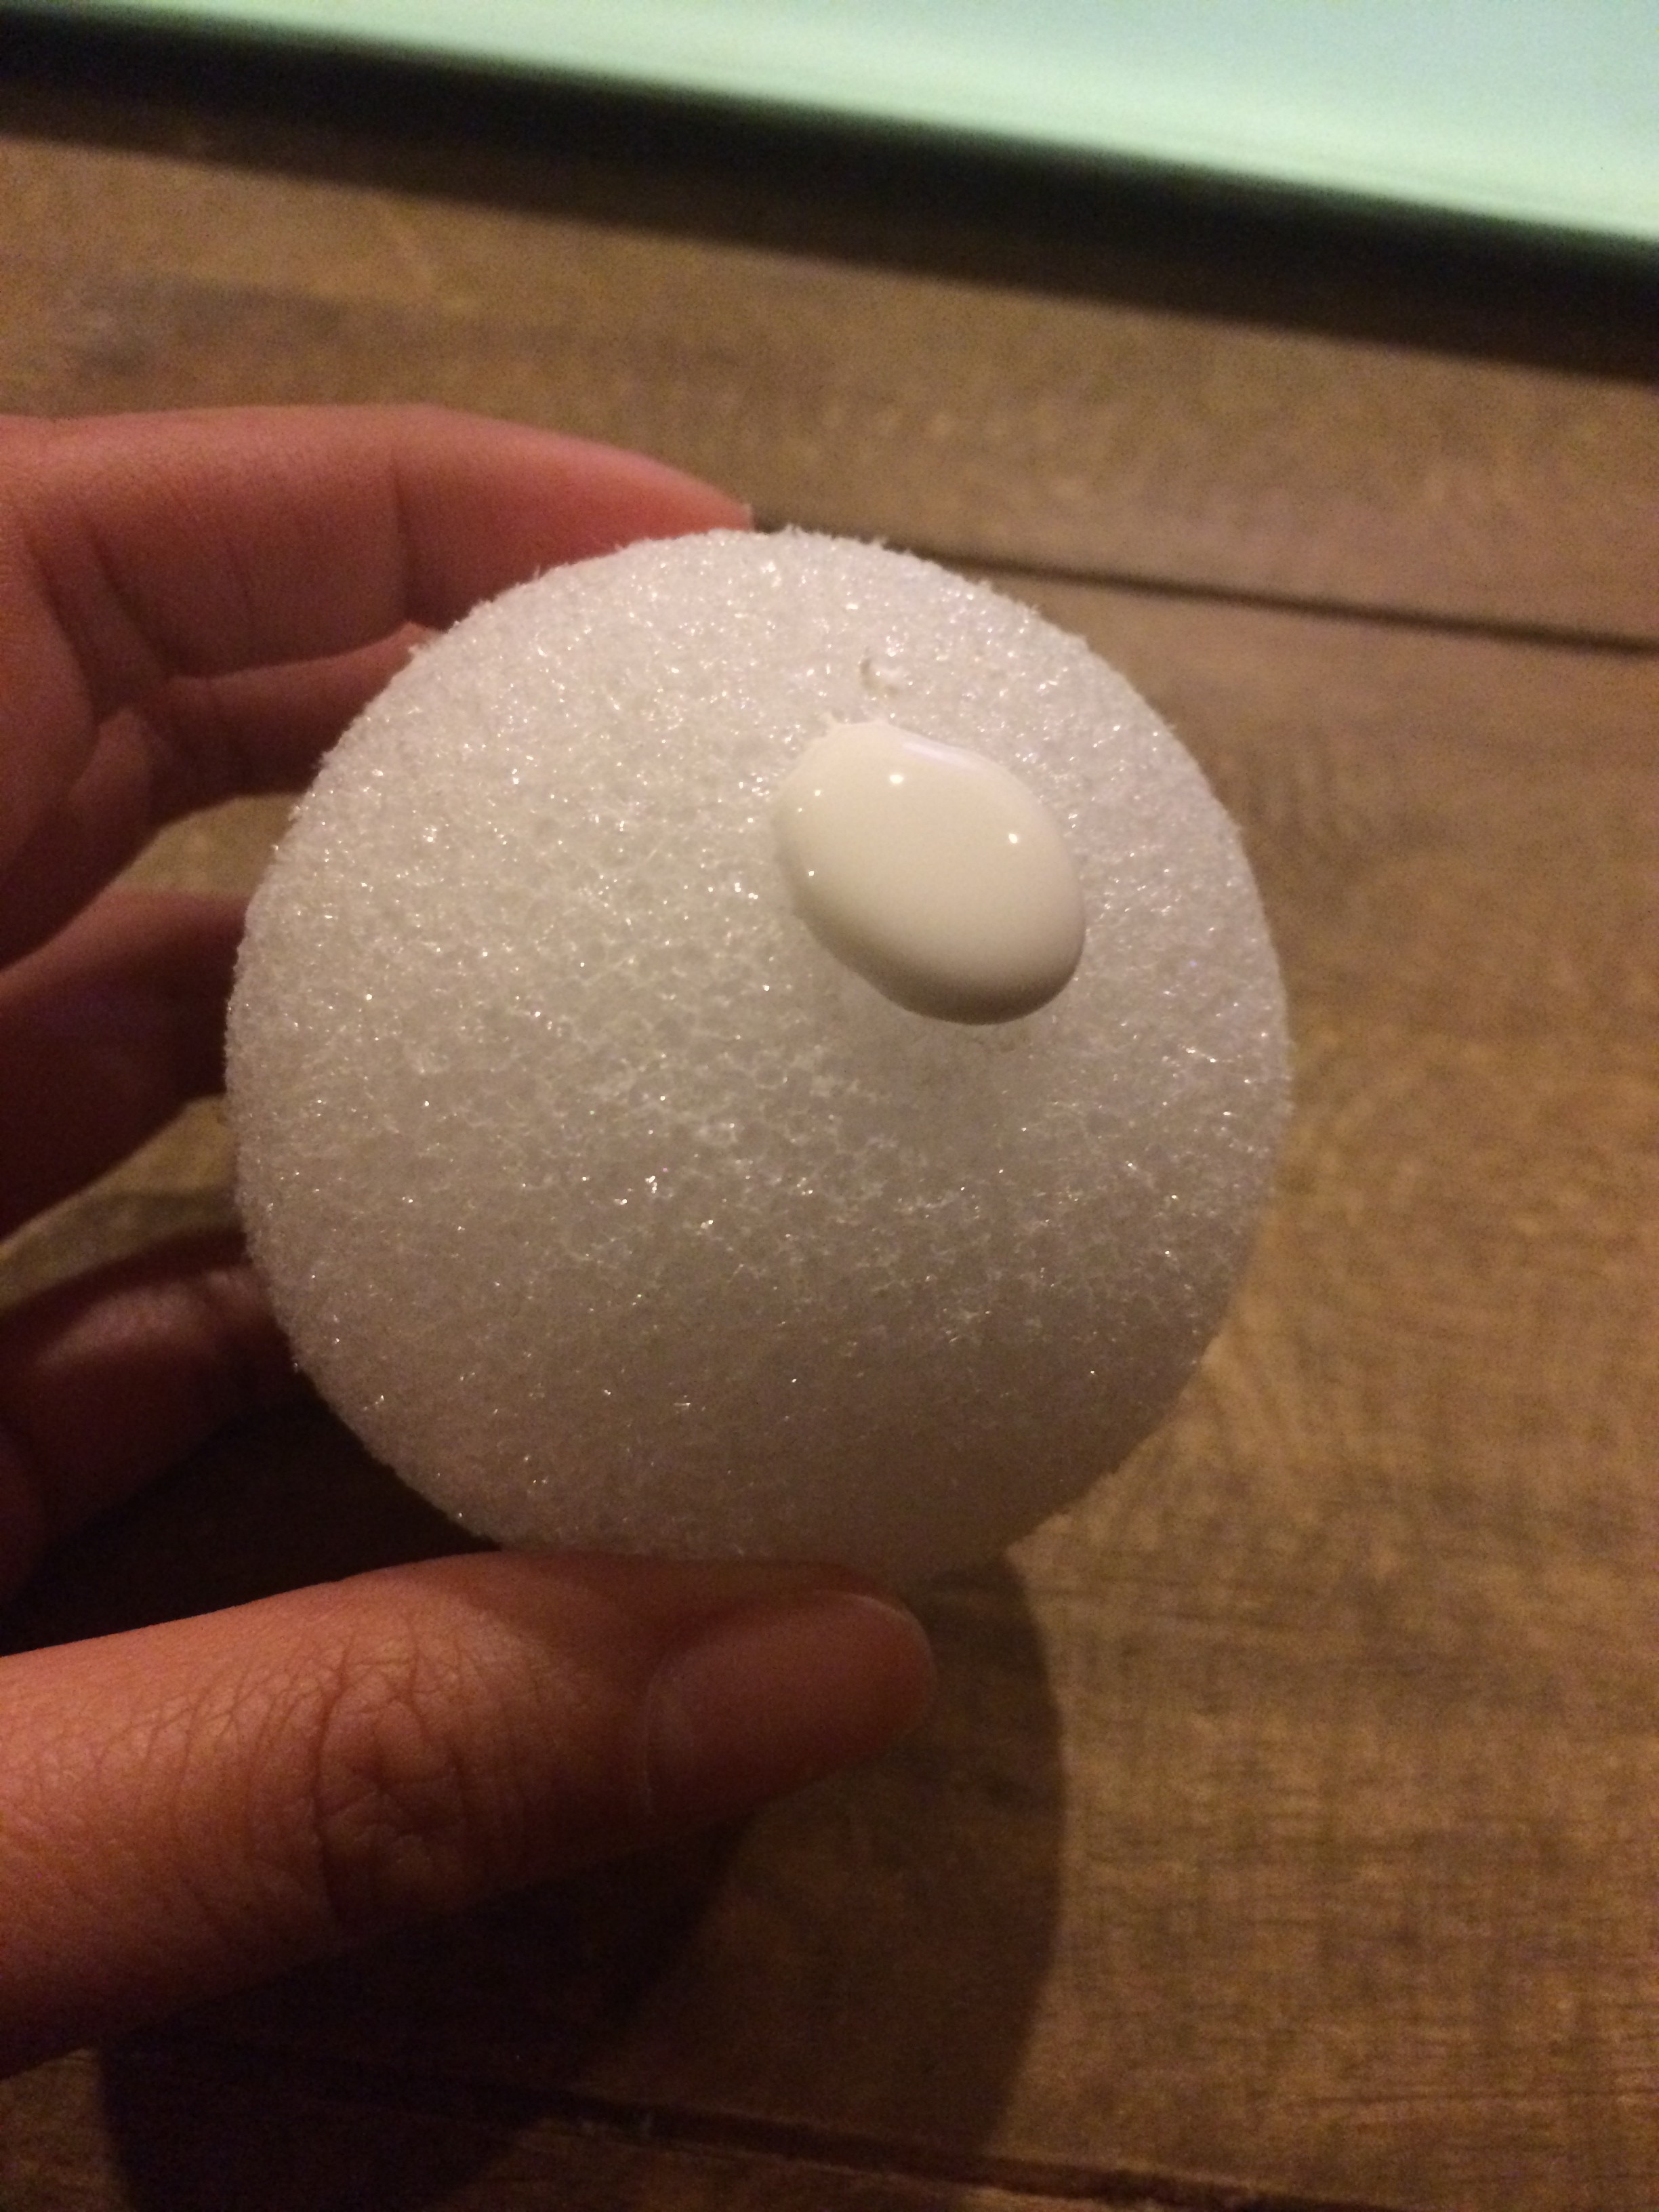
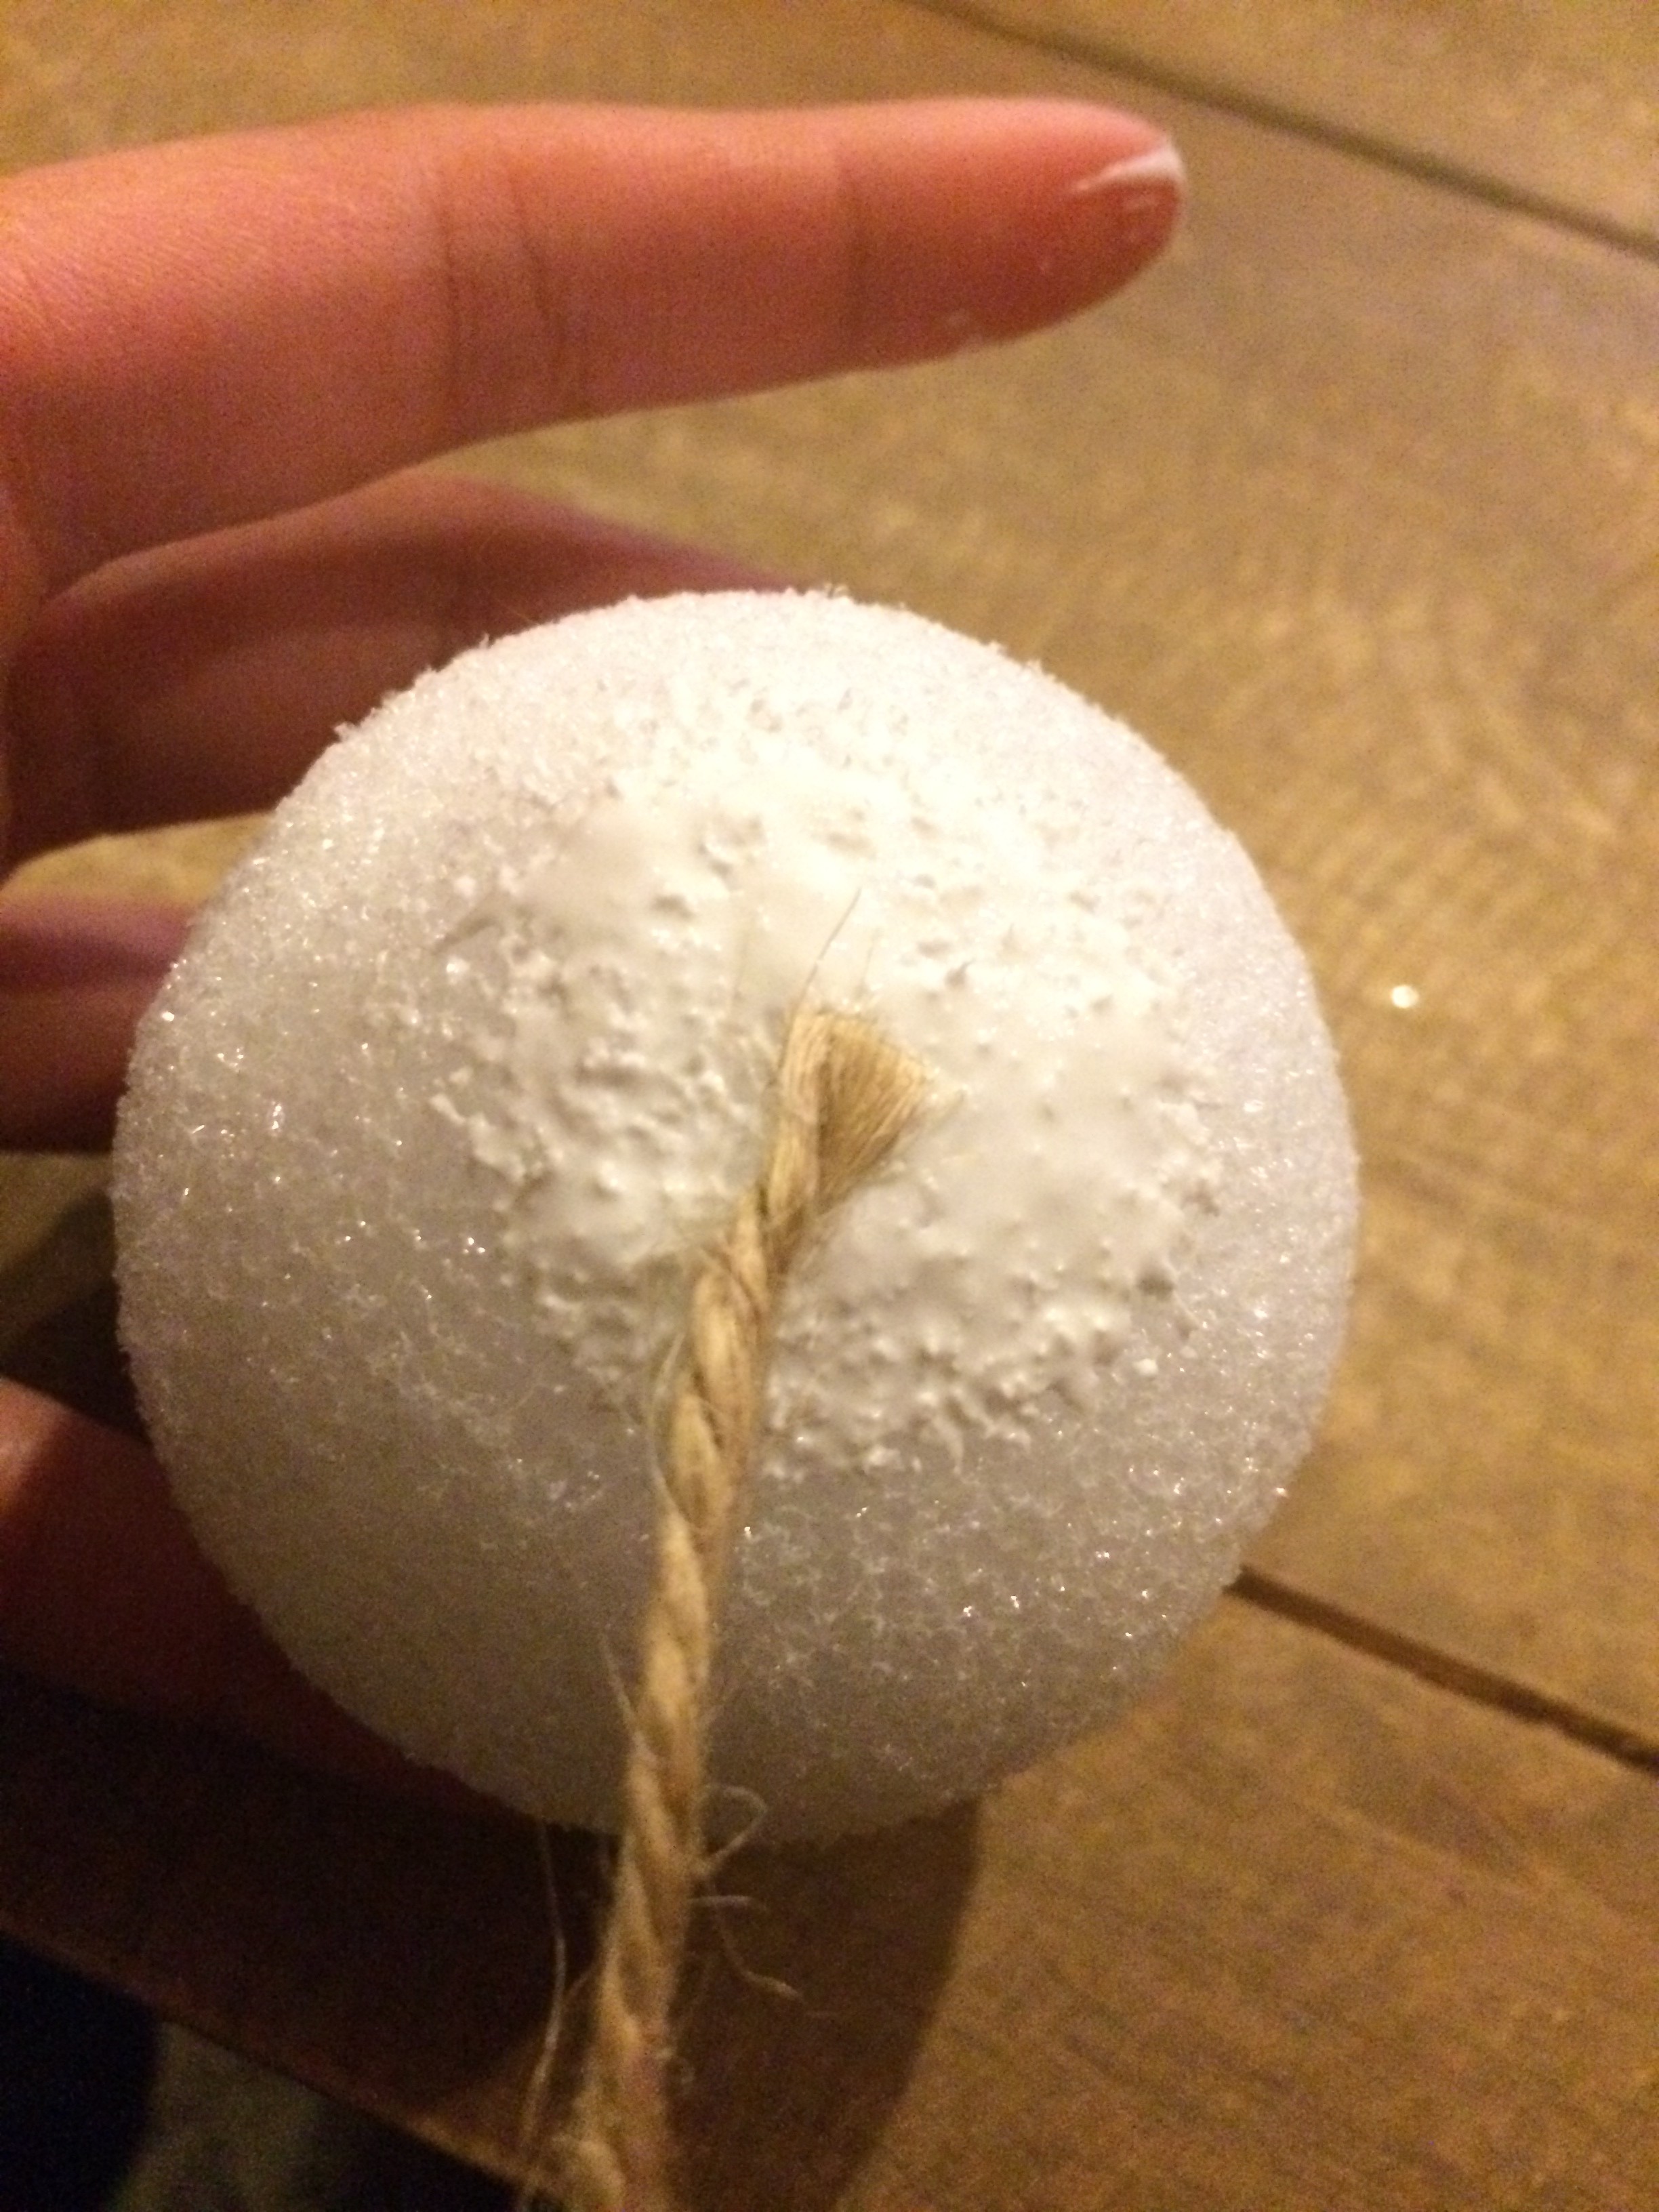
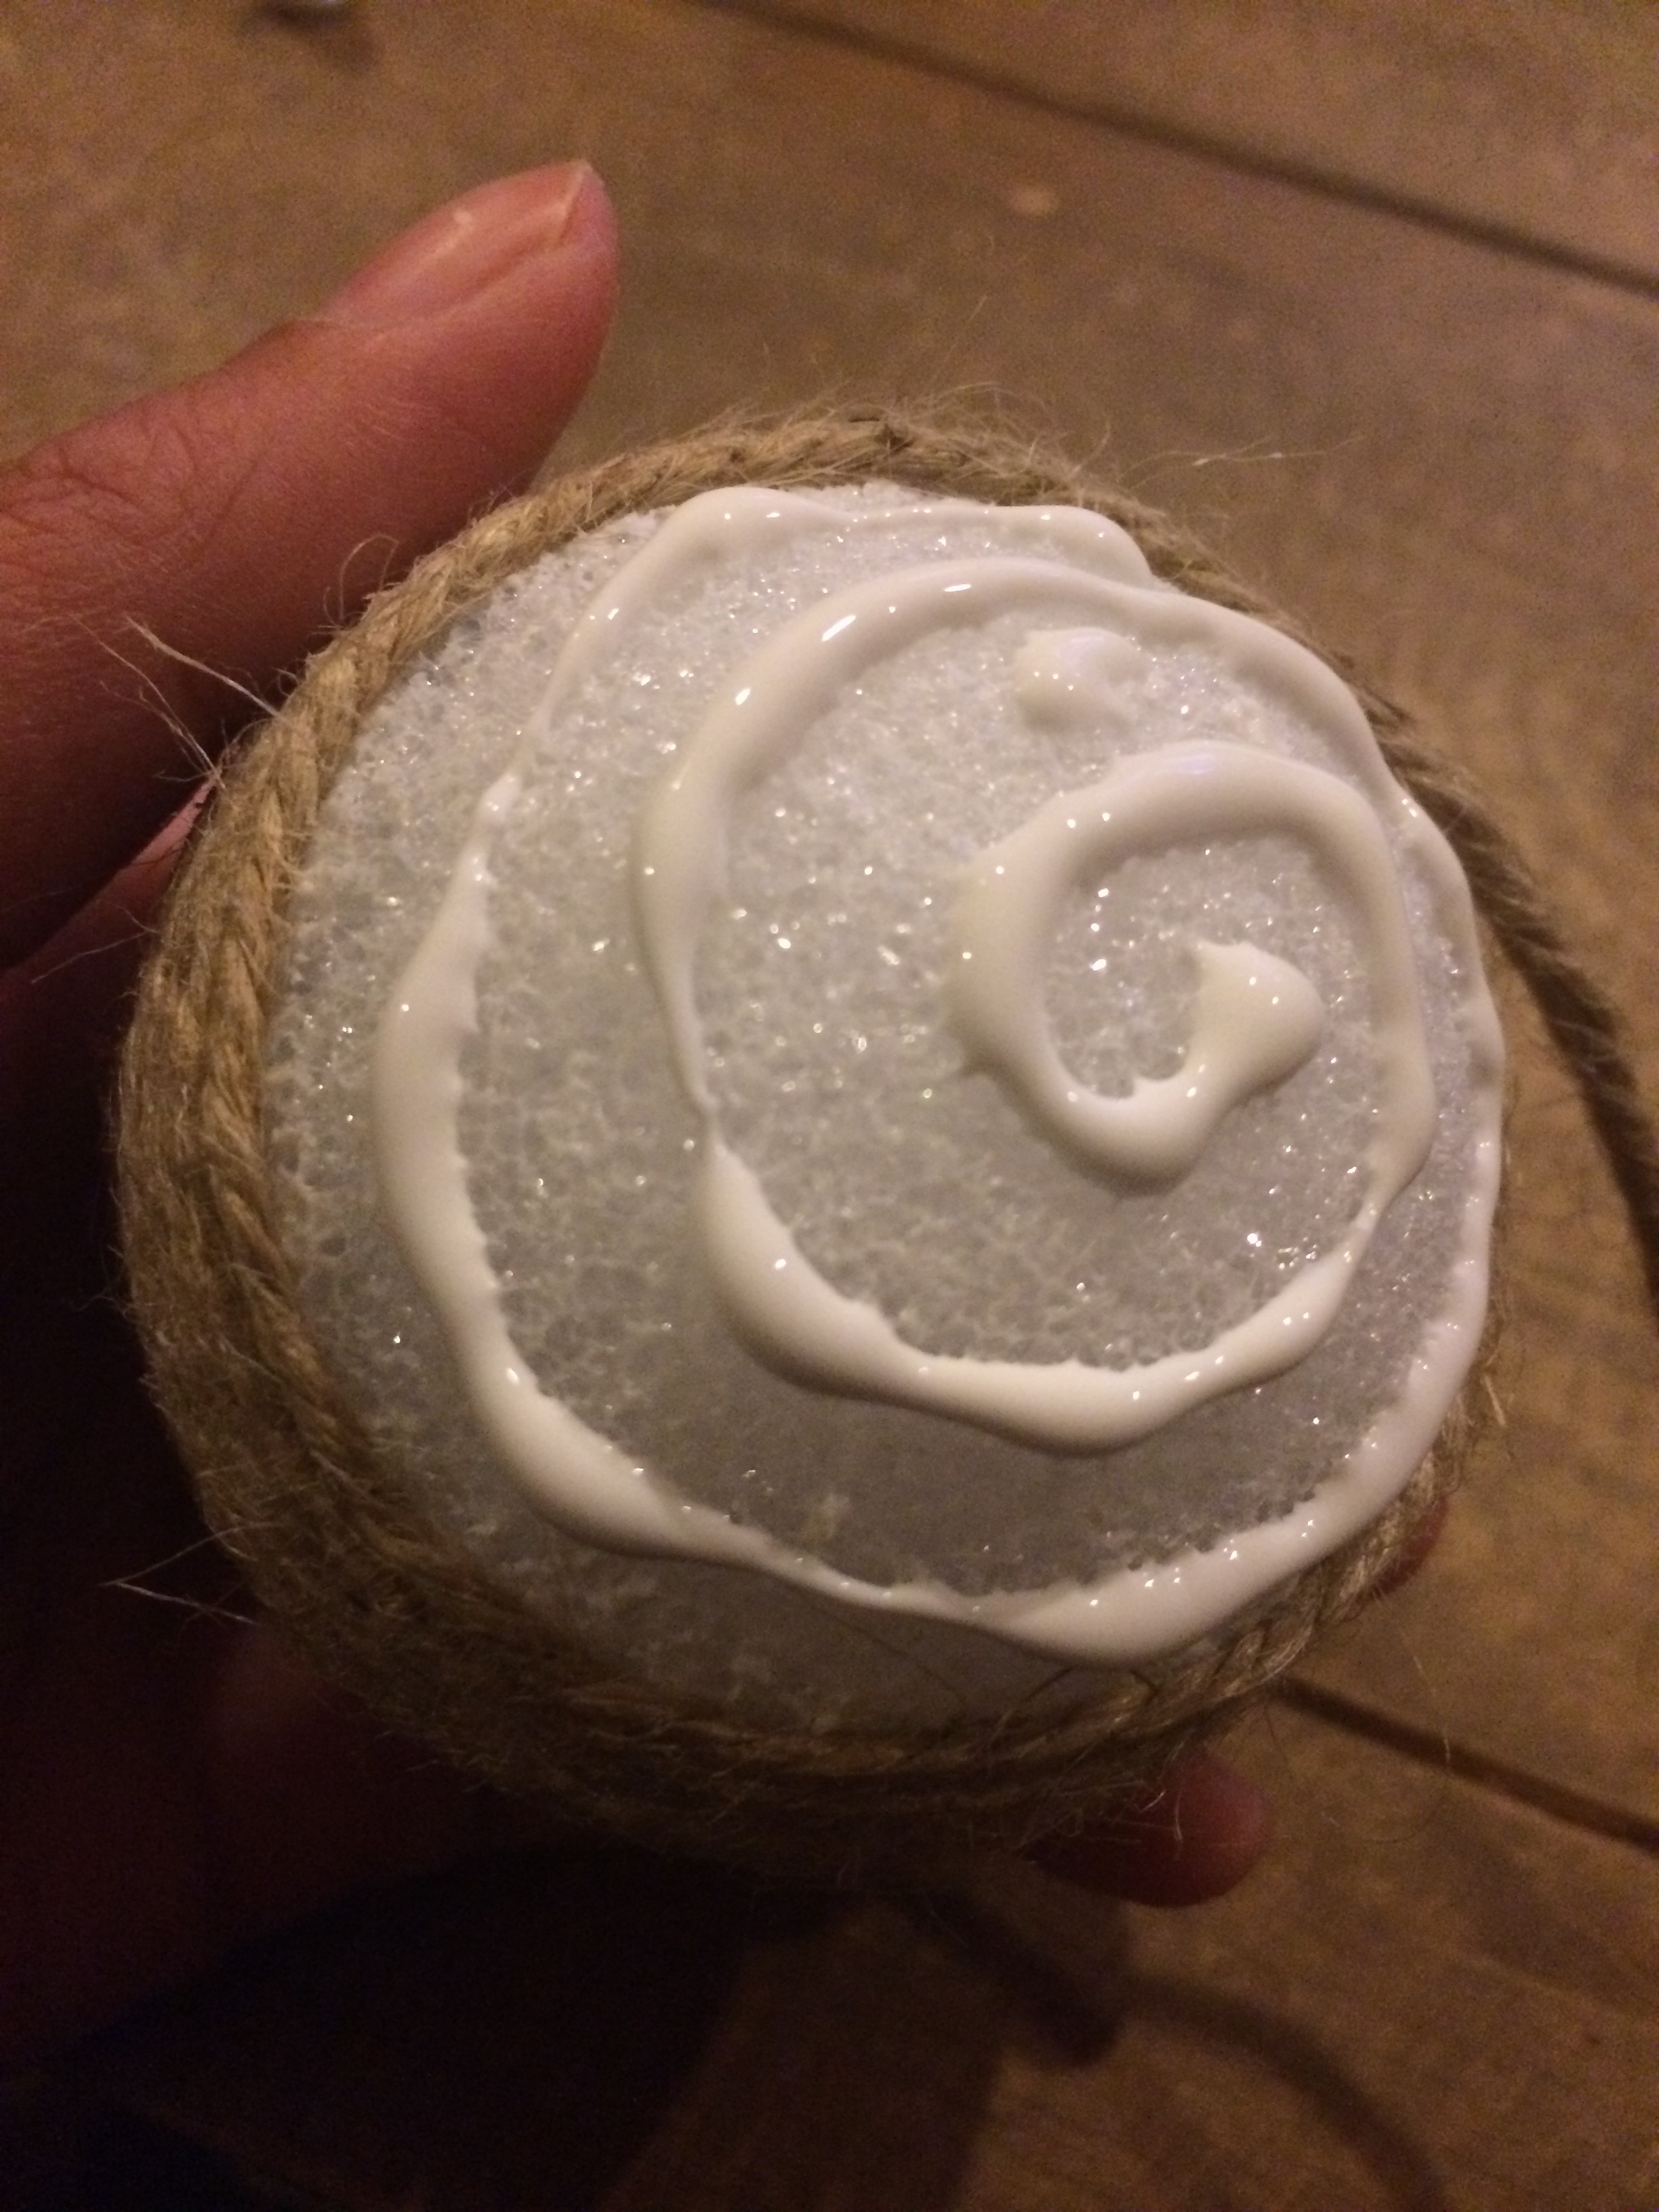
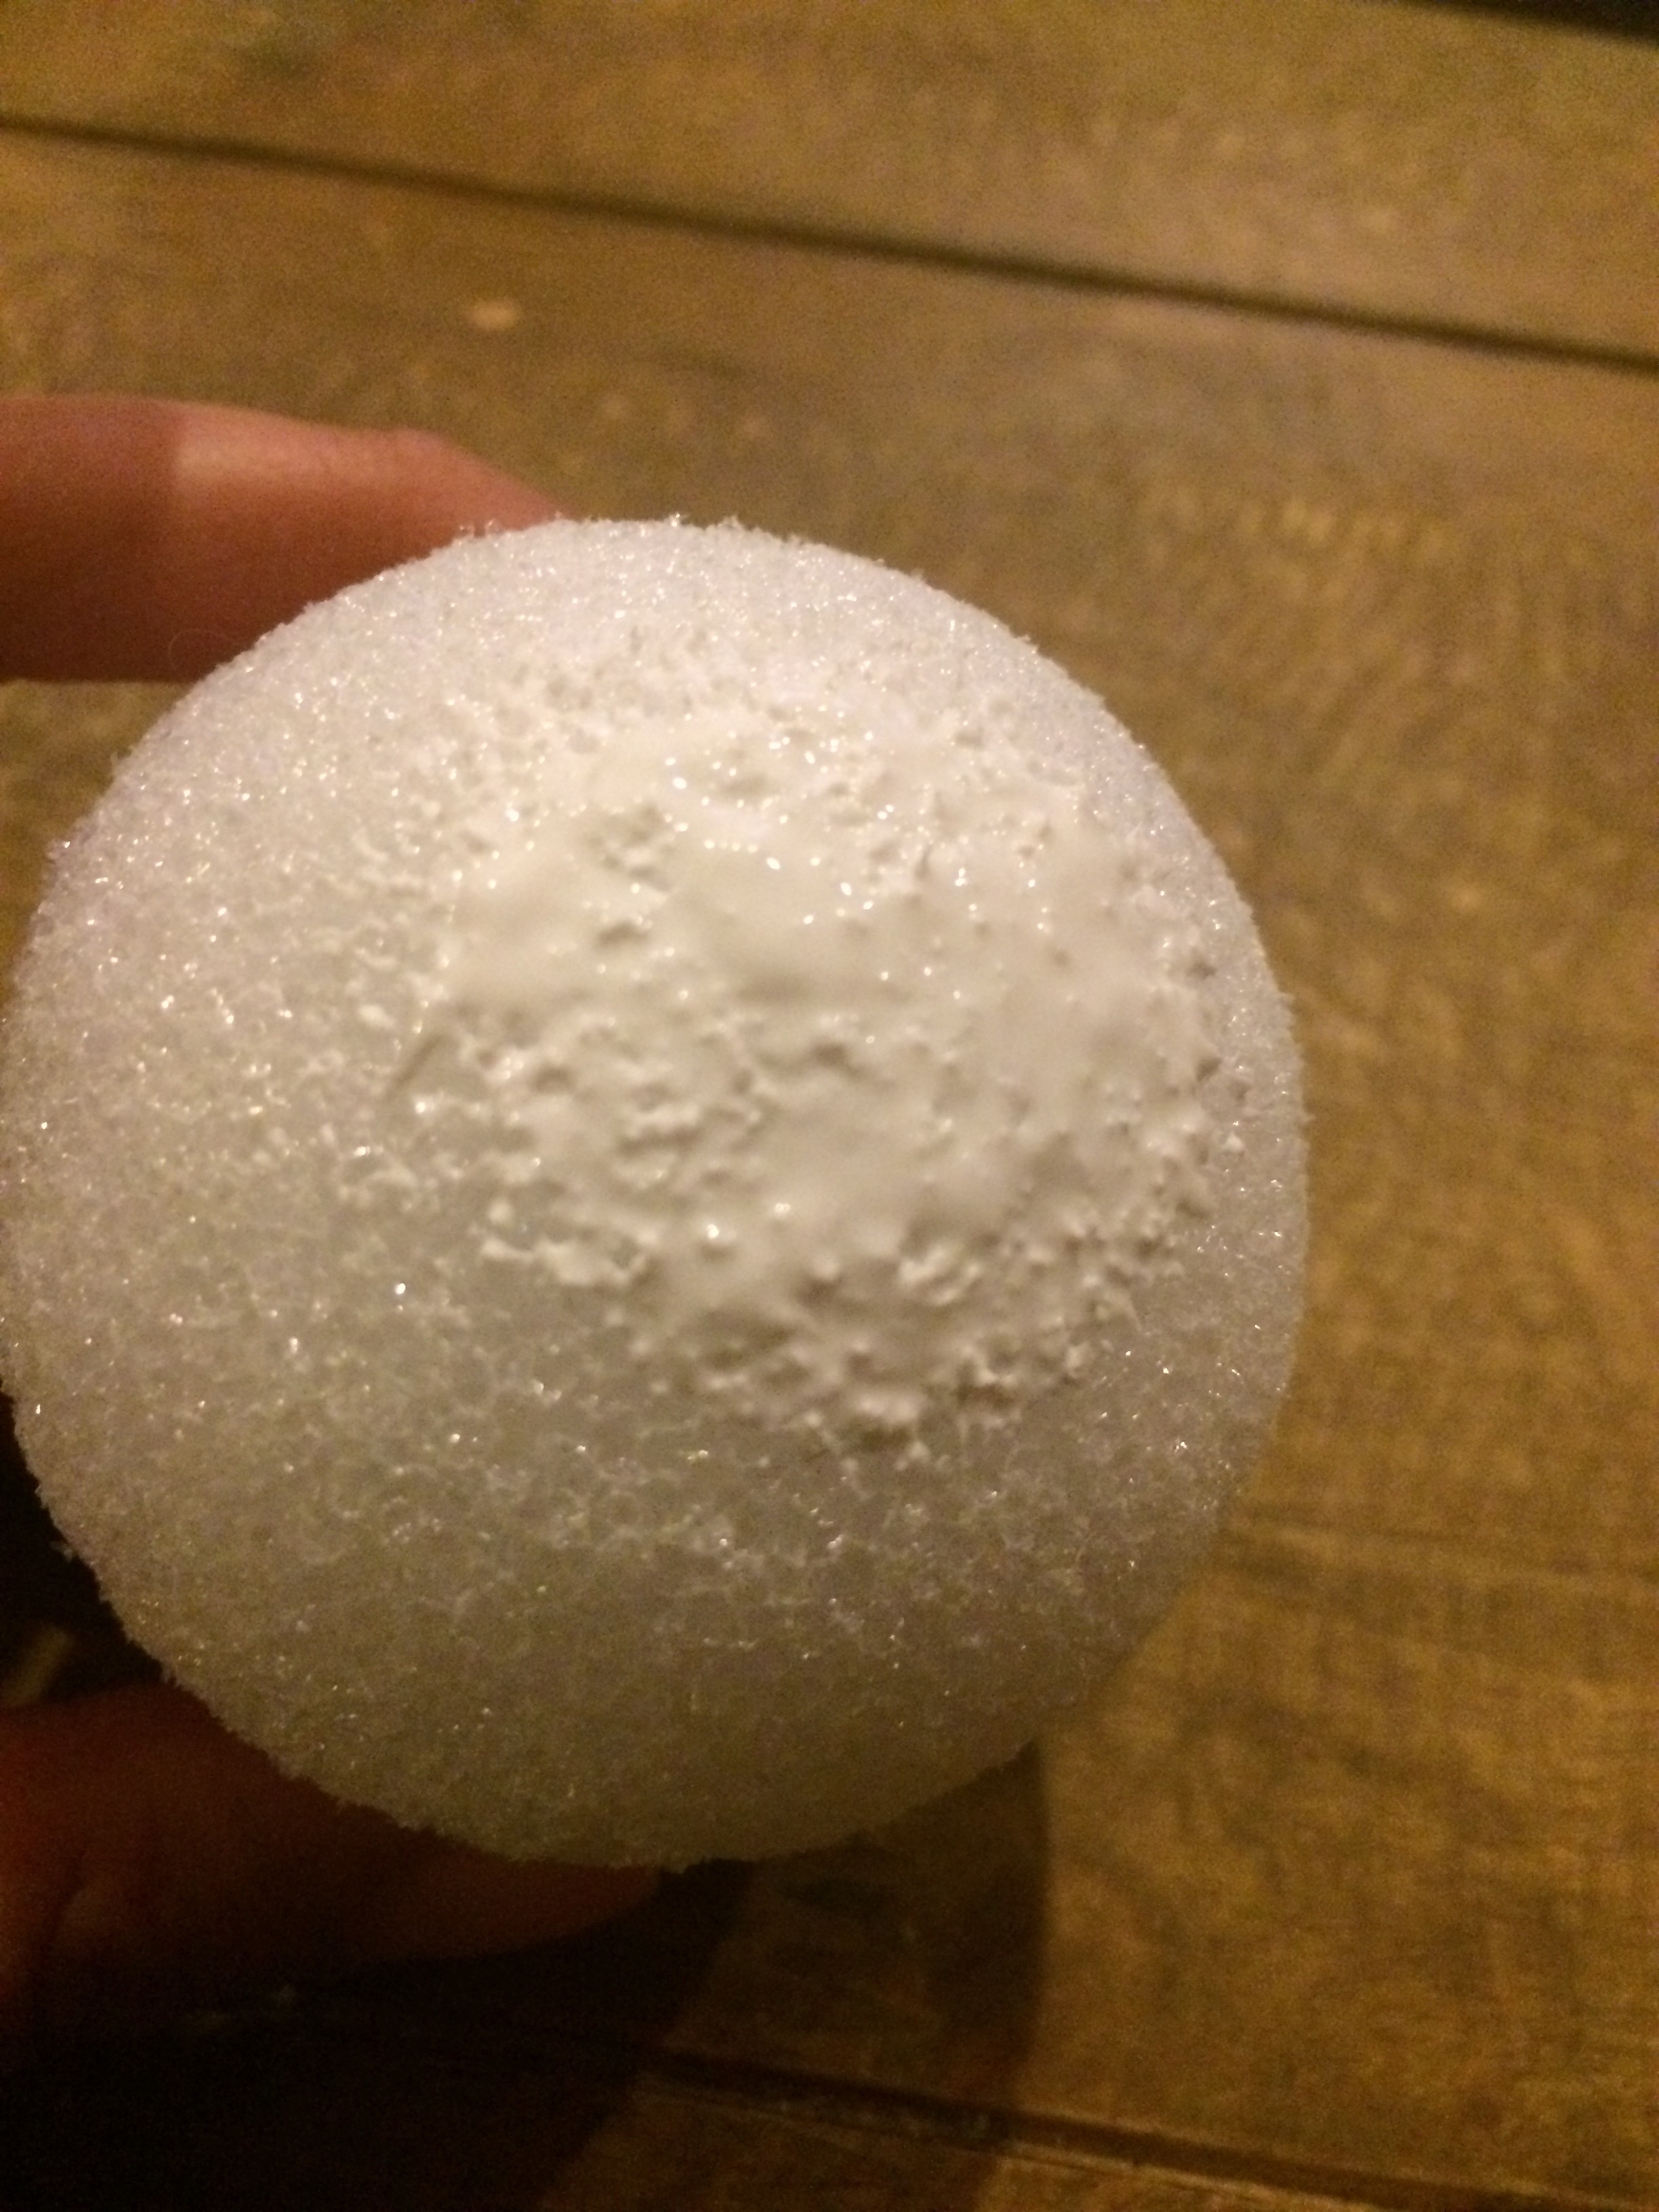 I start by squeezing a dab of tacky glue onto the styrofoam ball. To make it a little easier and cleaner, I smooth out the tacky glue a bit. WARNING: Depending on how thin you spread out the glue, it can dry FAST, but no worries, you can always put more glue on. It dries clear (^_^).
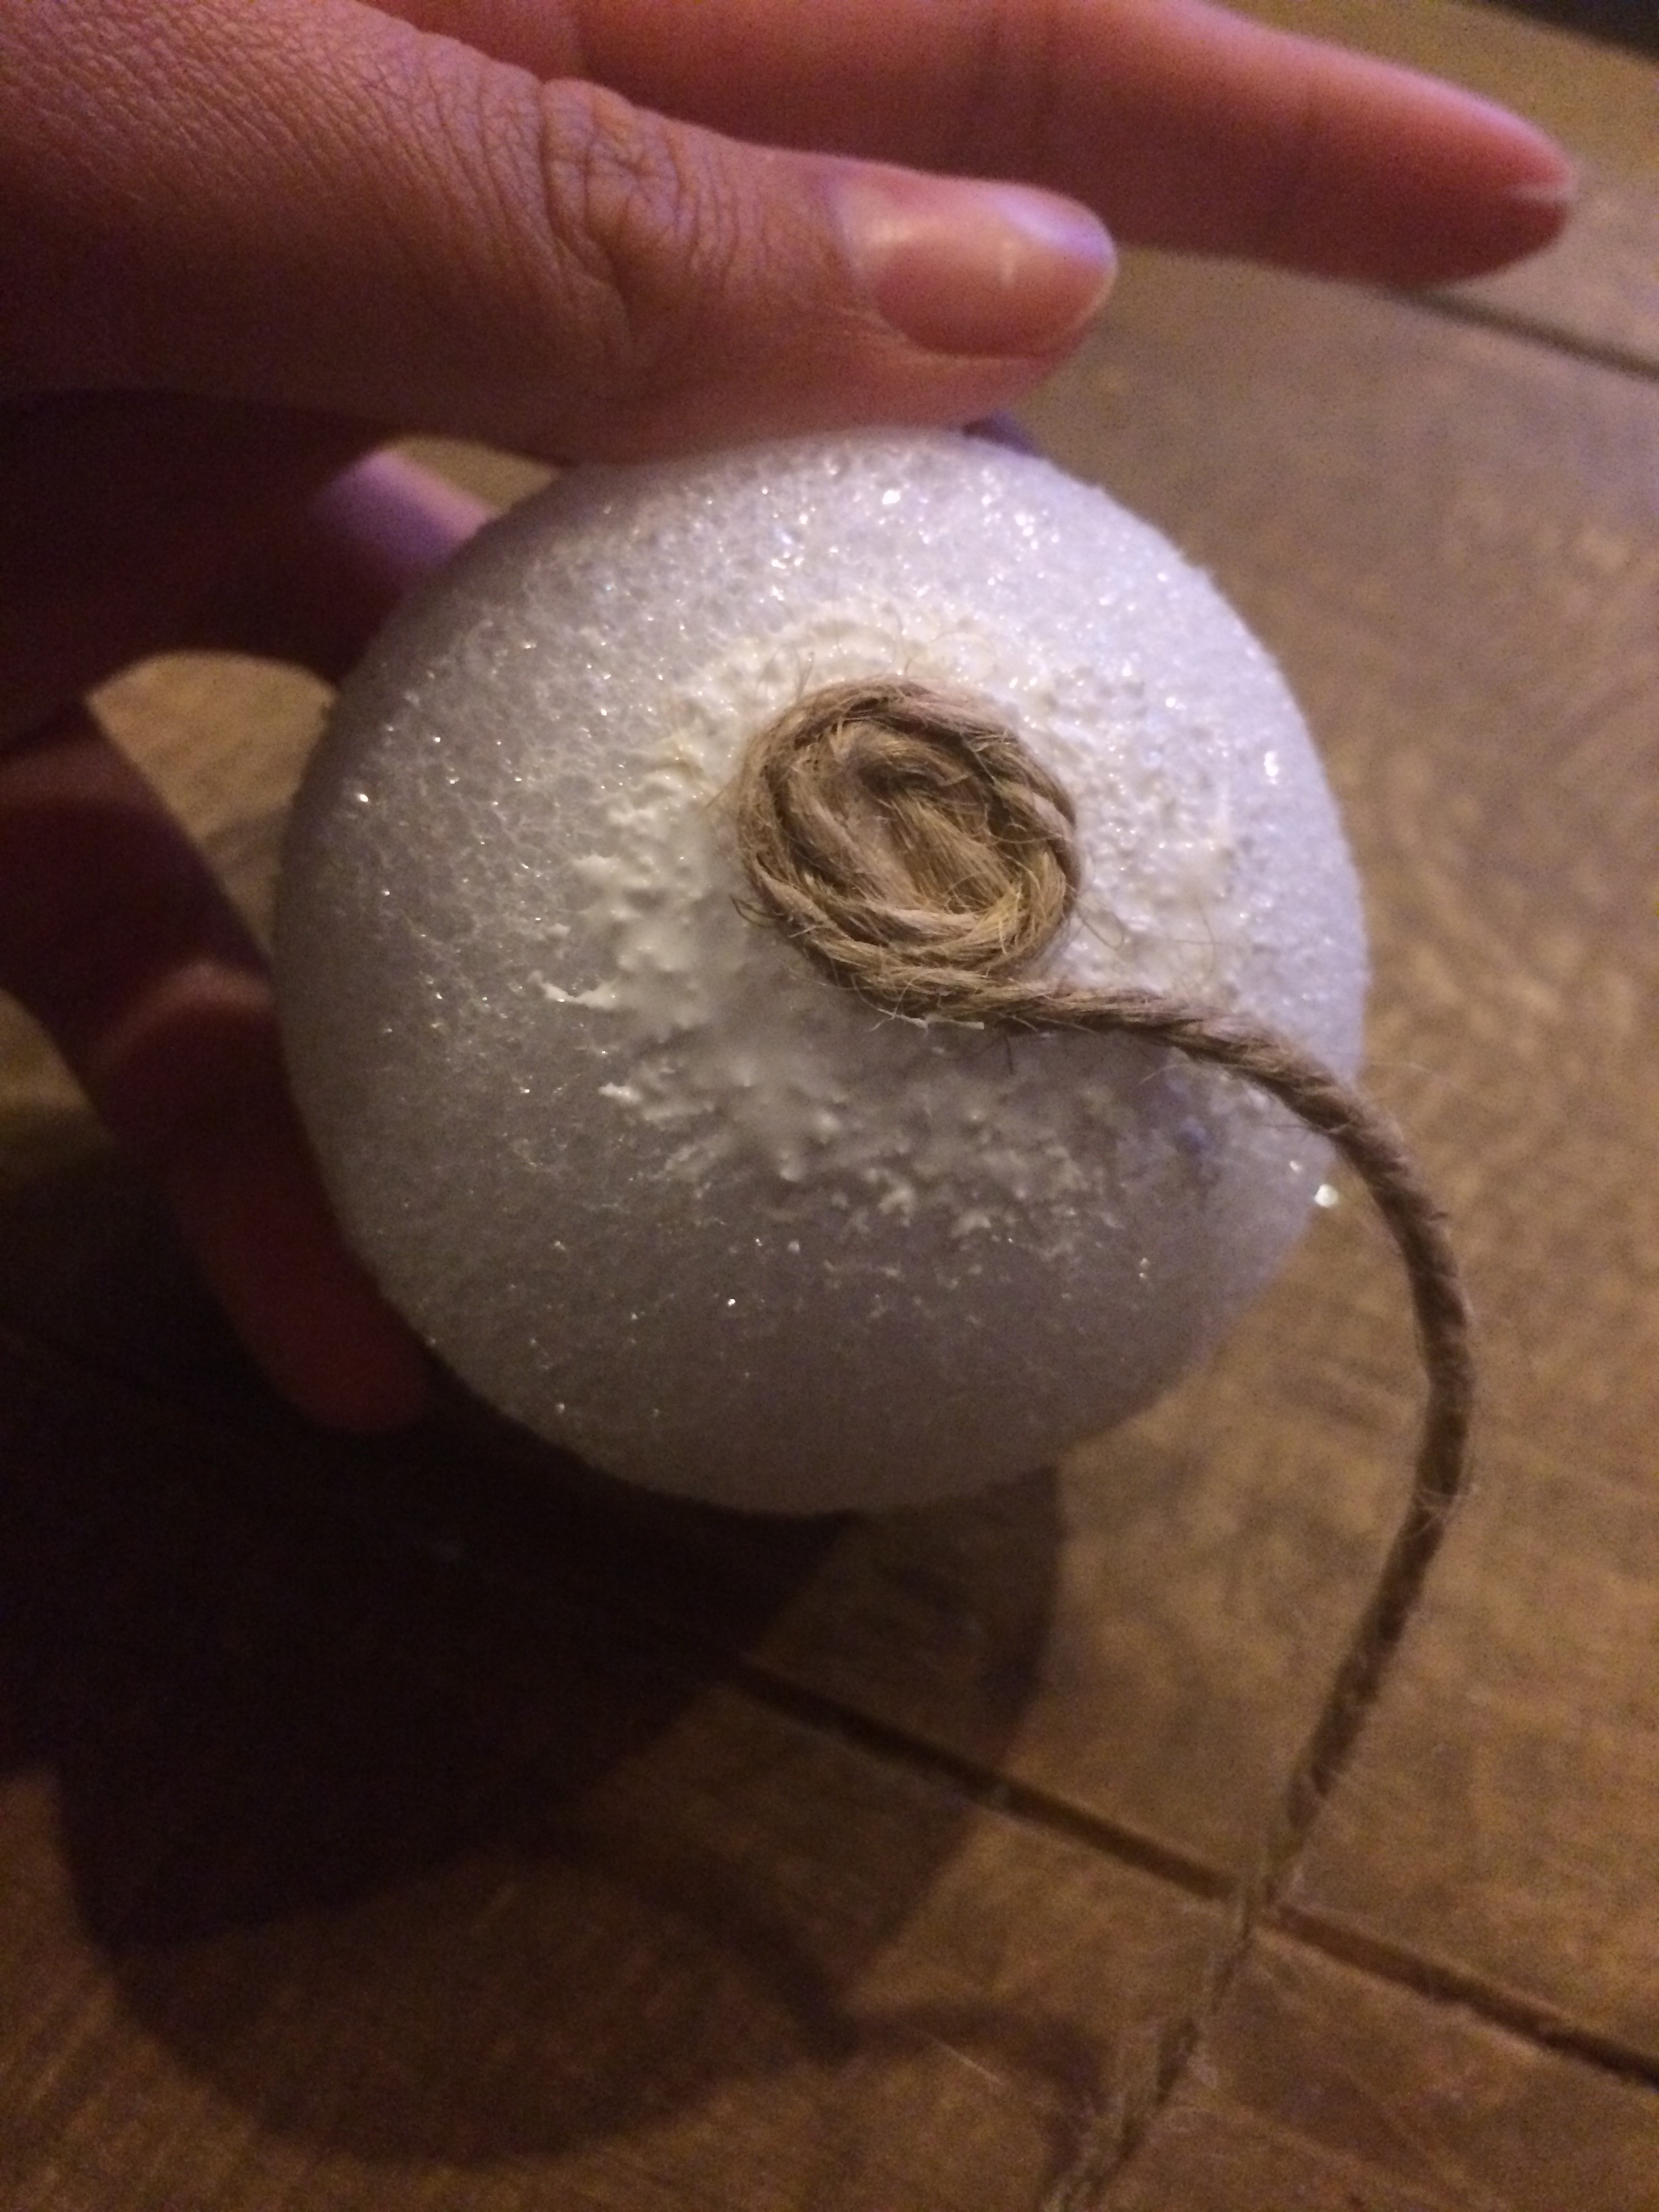
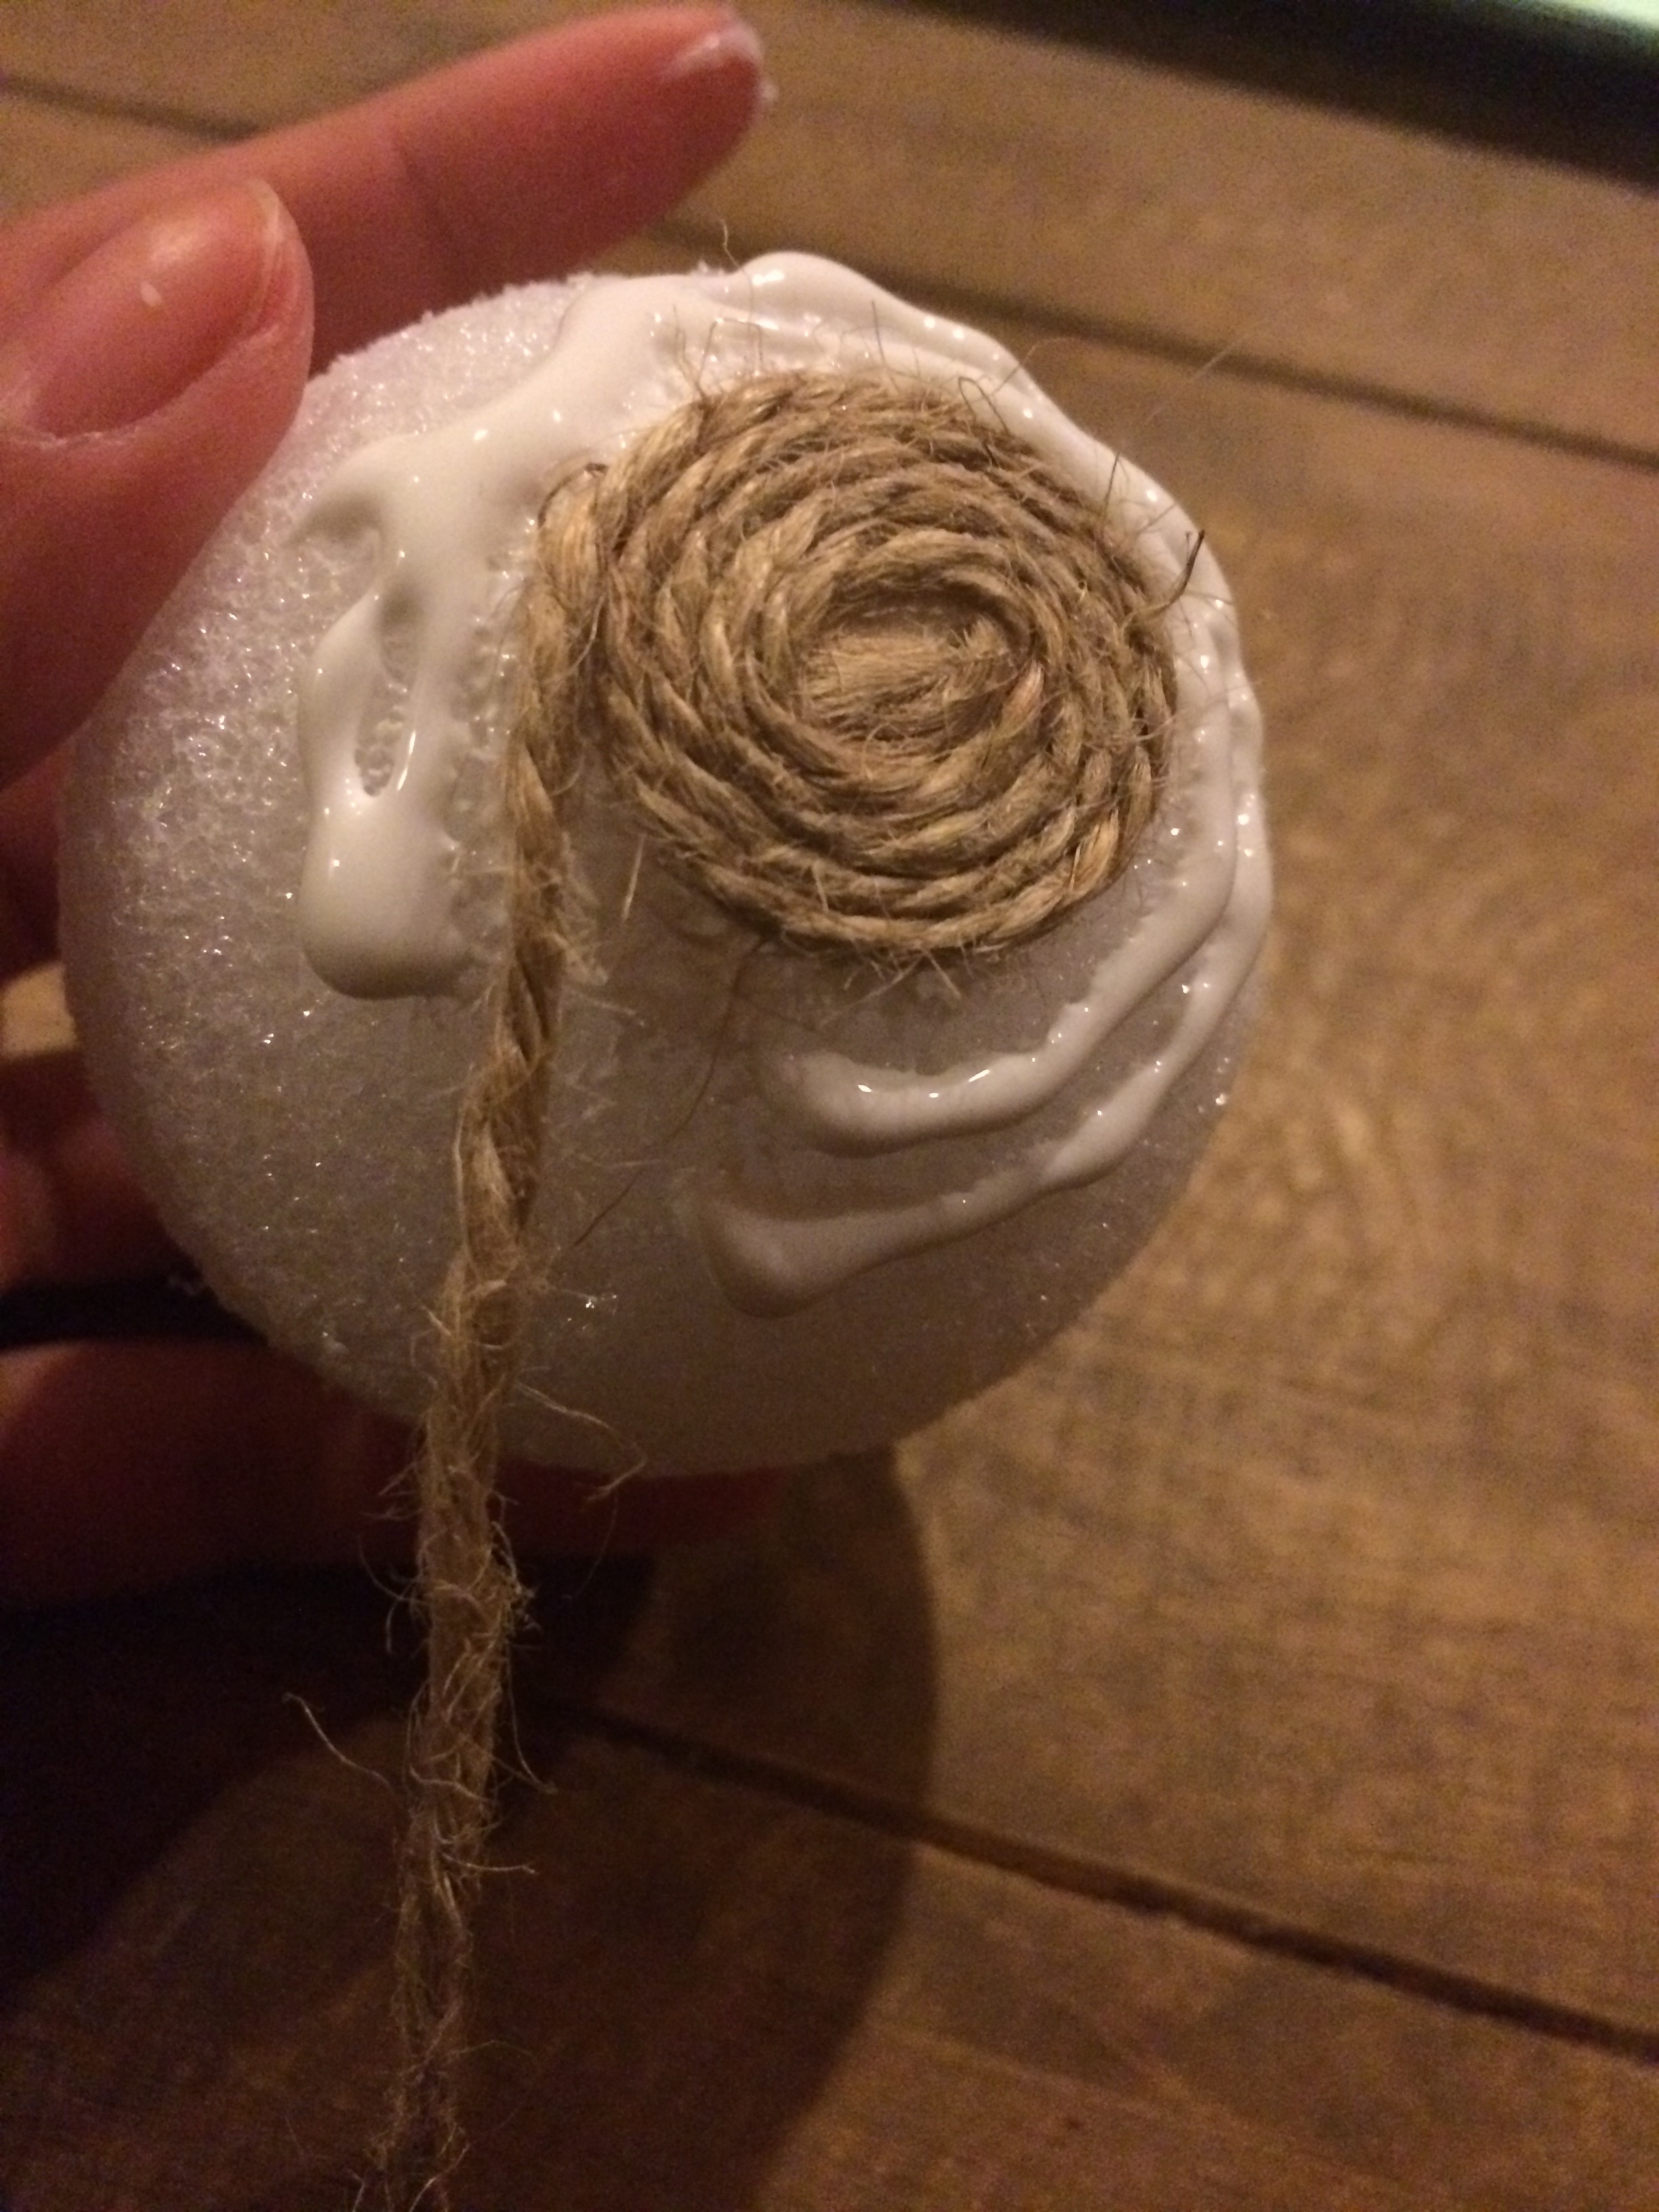
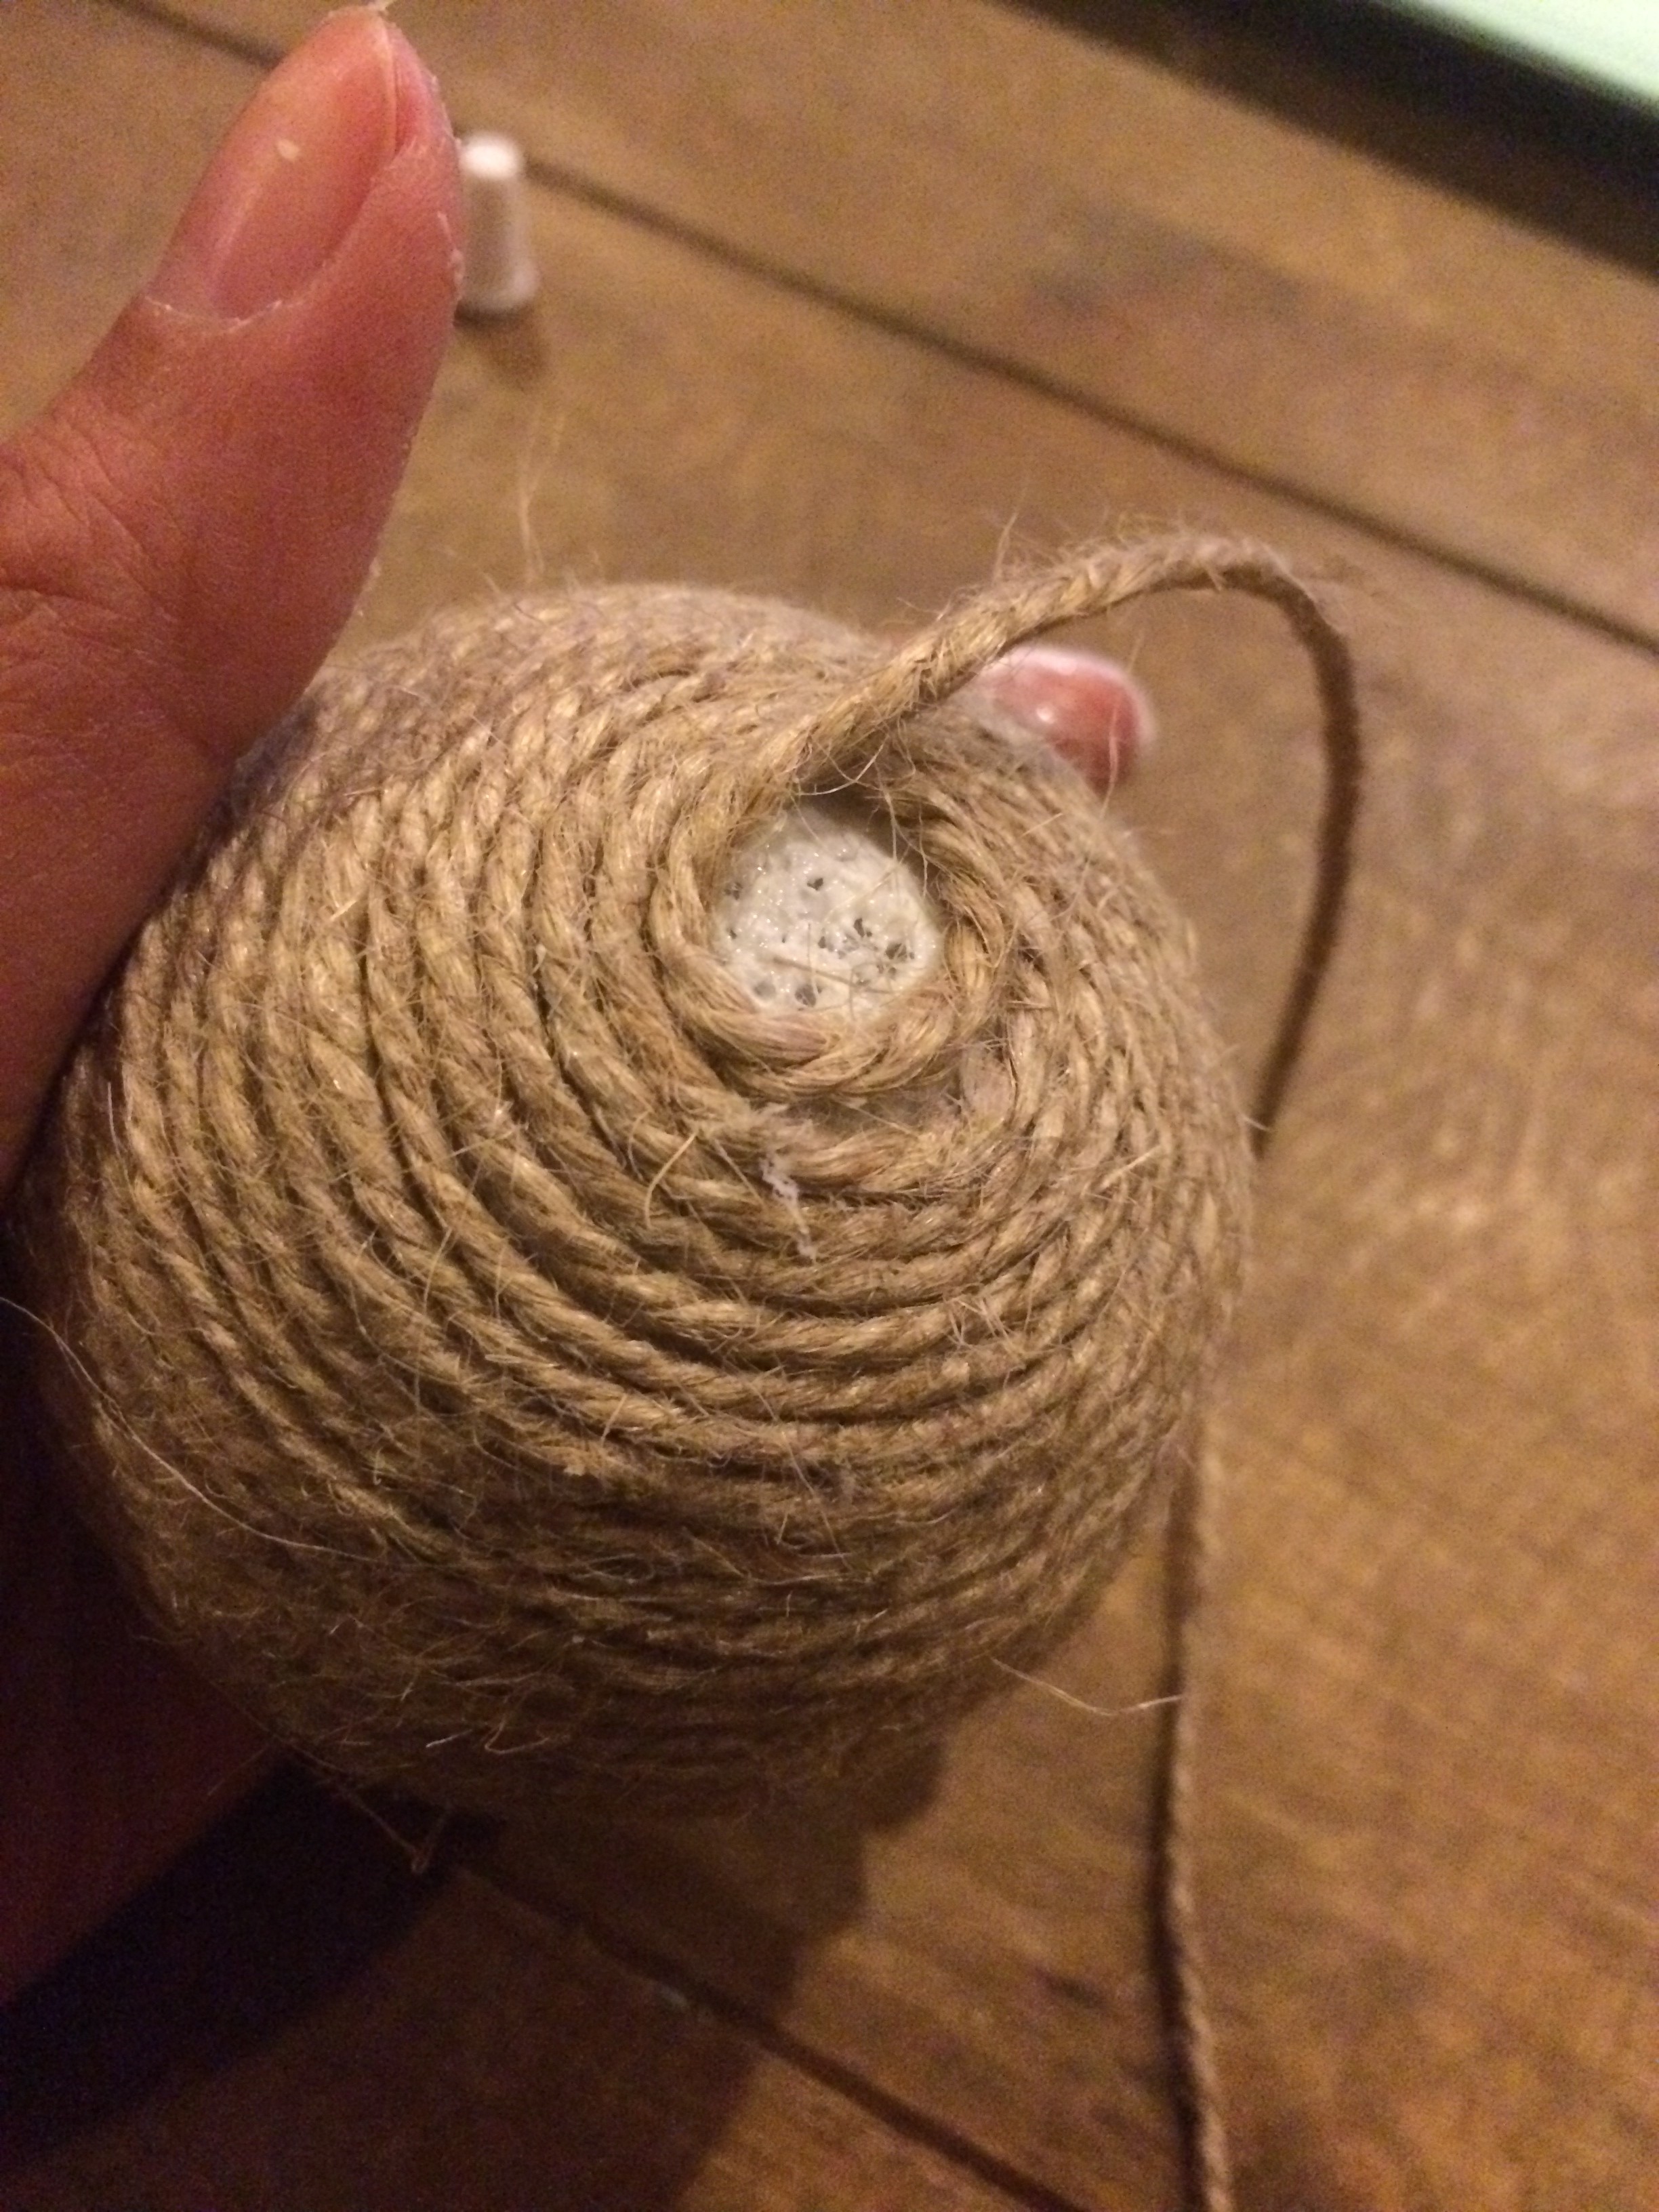
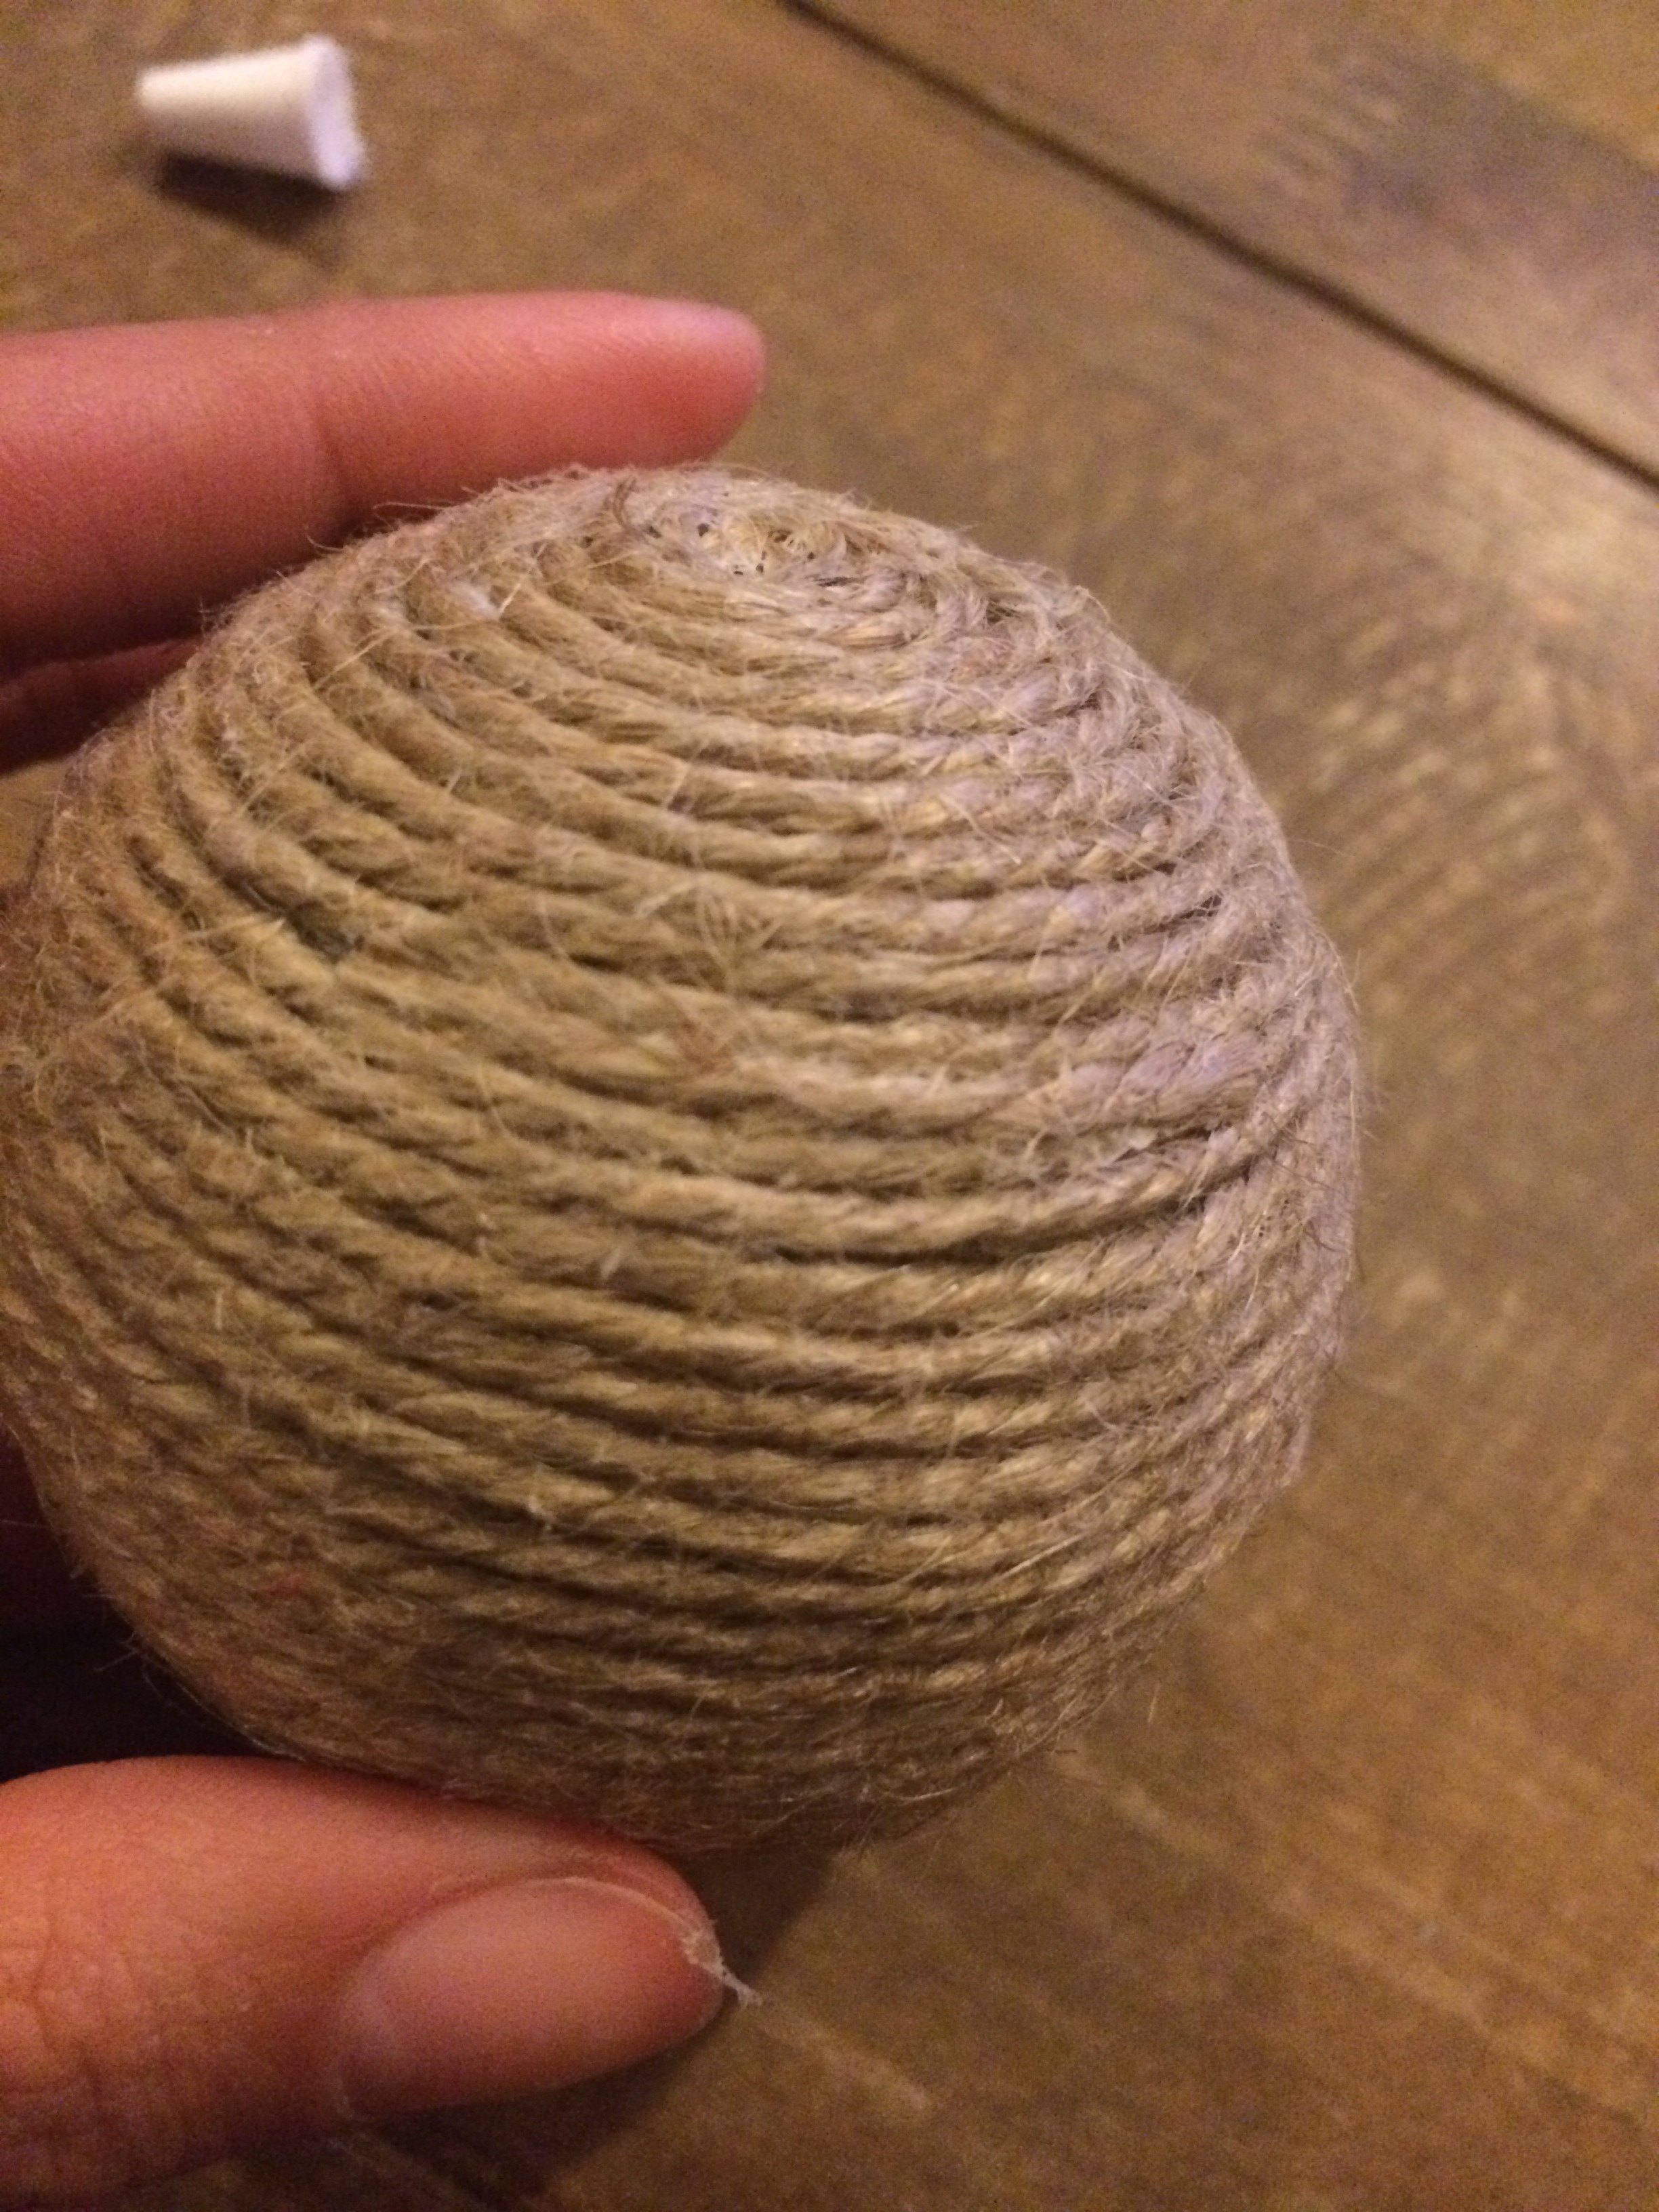
Place the end of the twine on the styrofoam ball. Carefully twist the ball so that you’re making a tight spiral pattern with the twine on the ball. When the spiral of twine reaches the end of your glue smear, add more glue and smear it again. The goal here is to cover the entire ball.
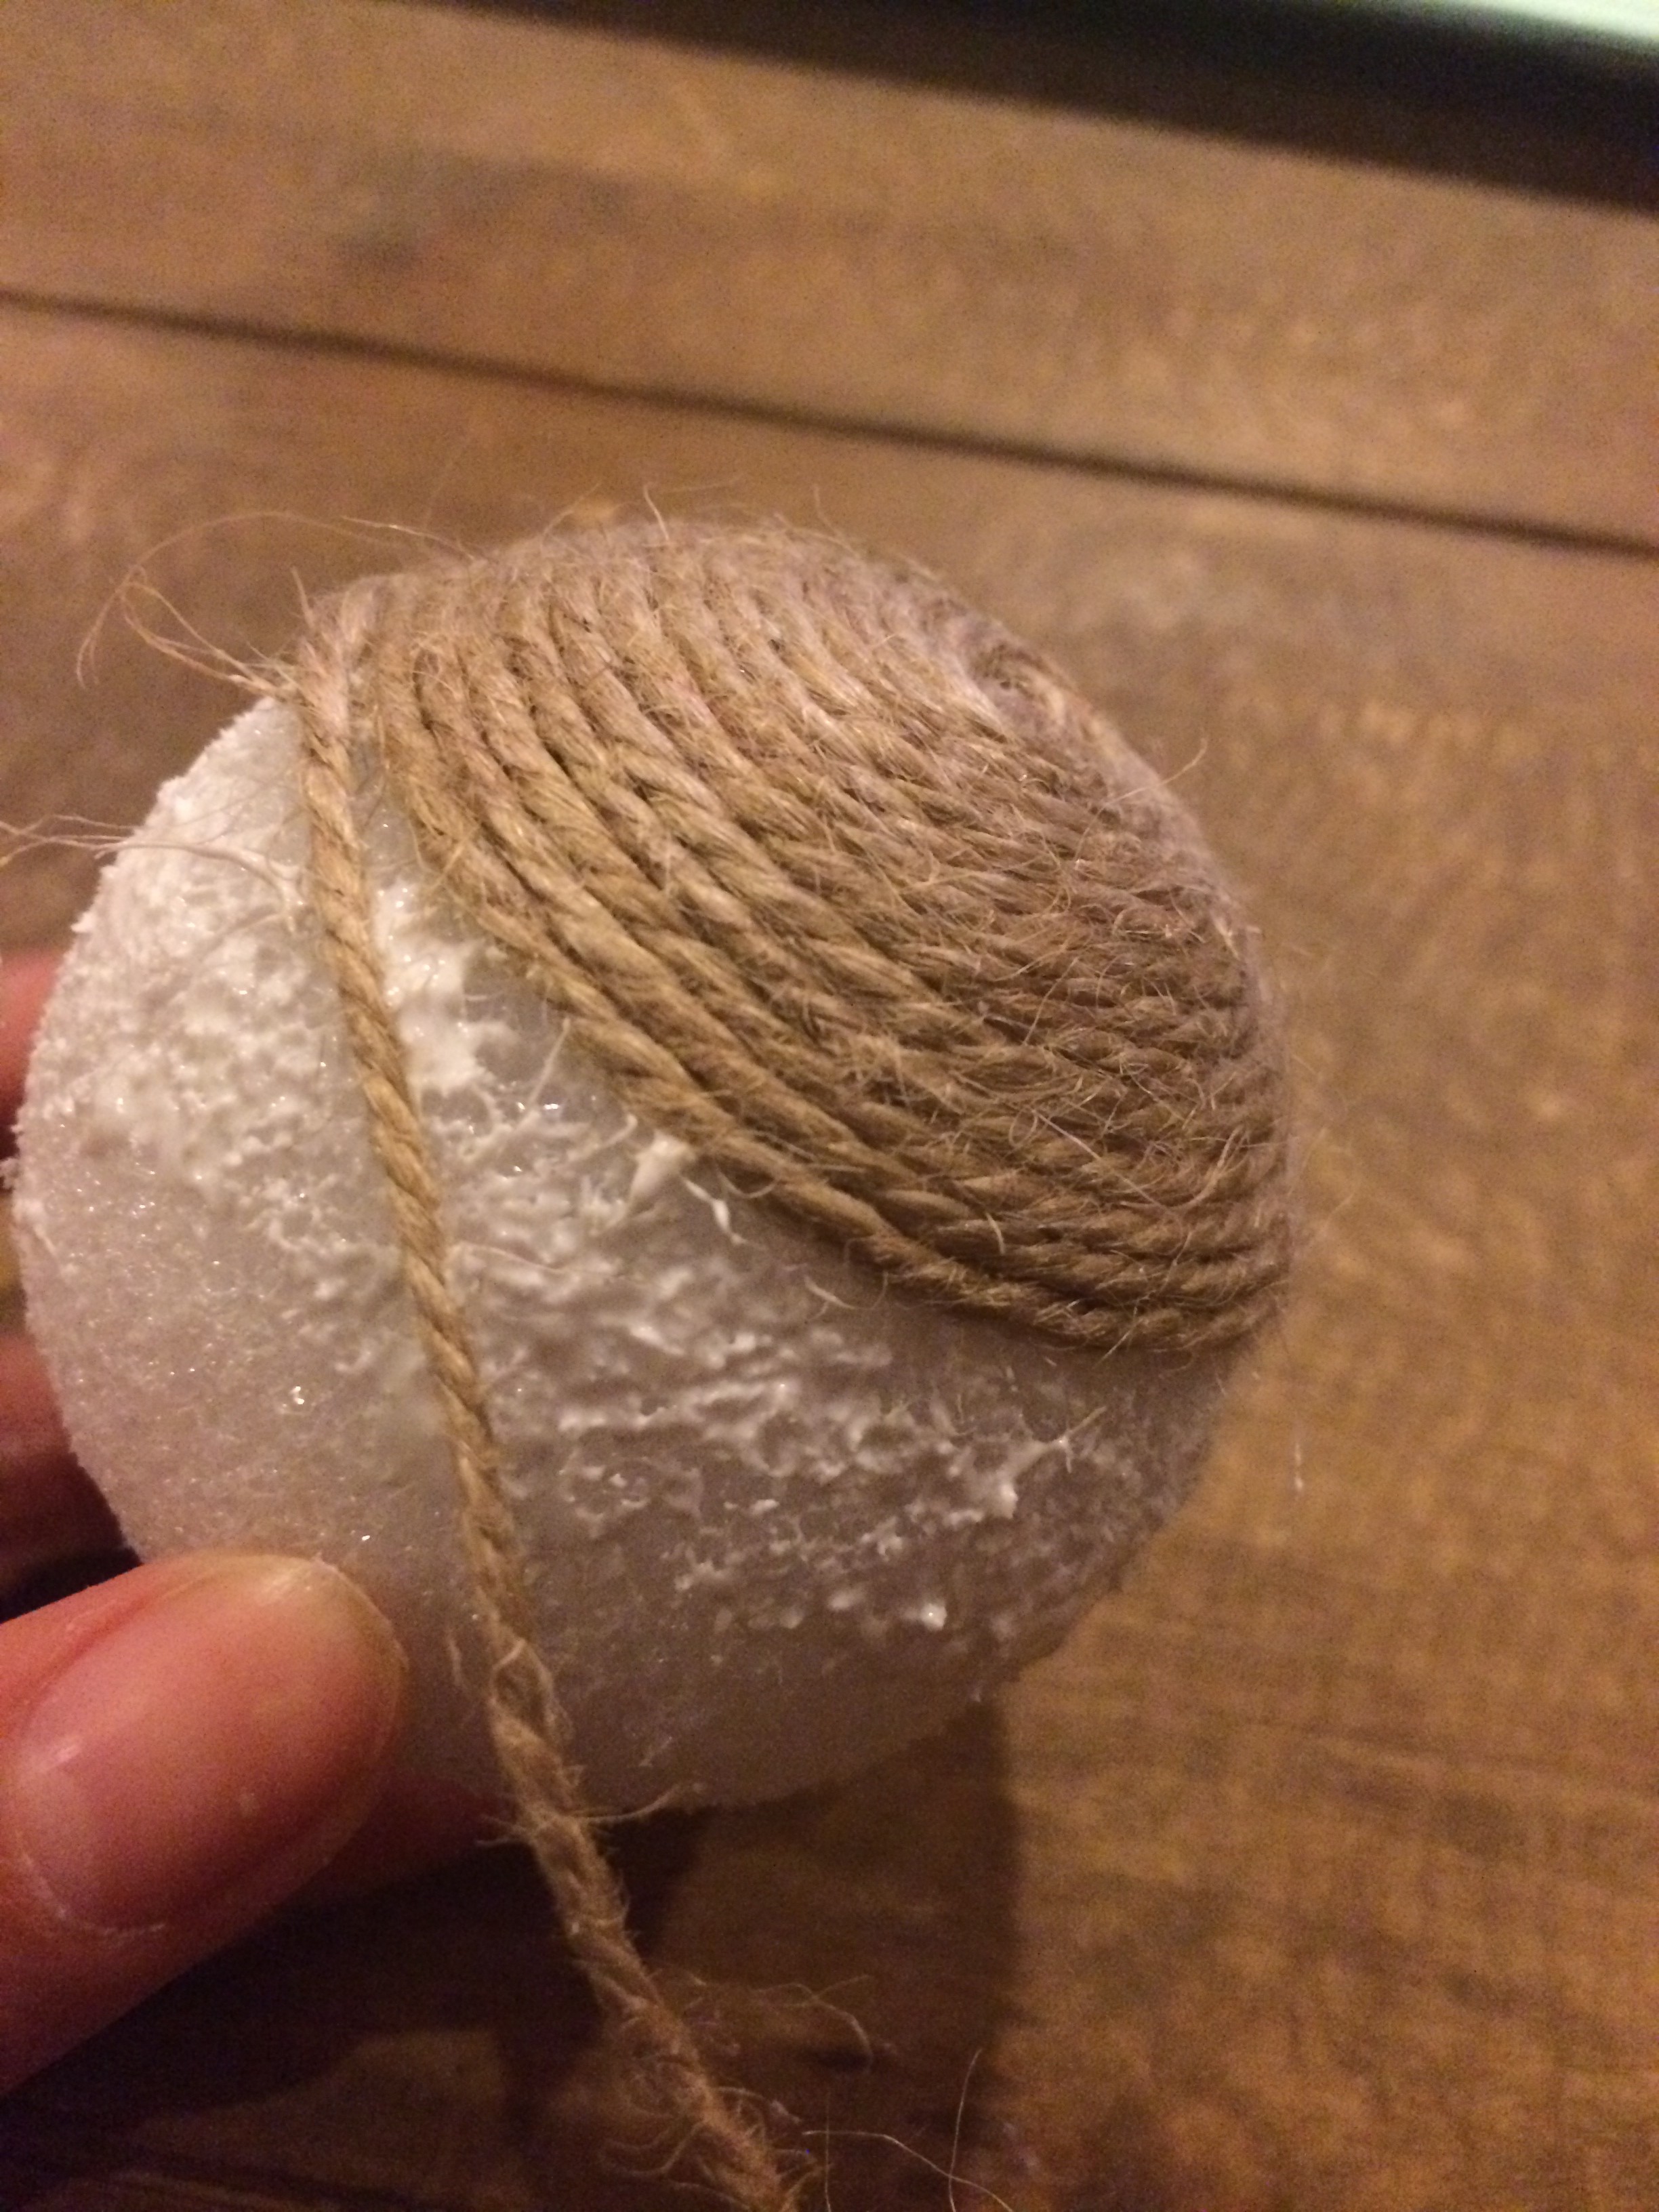
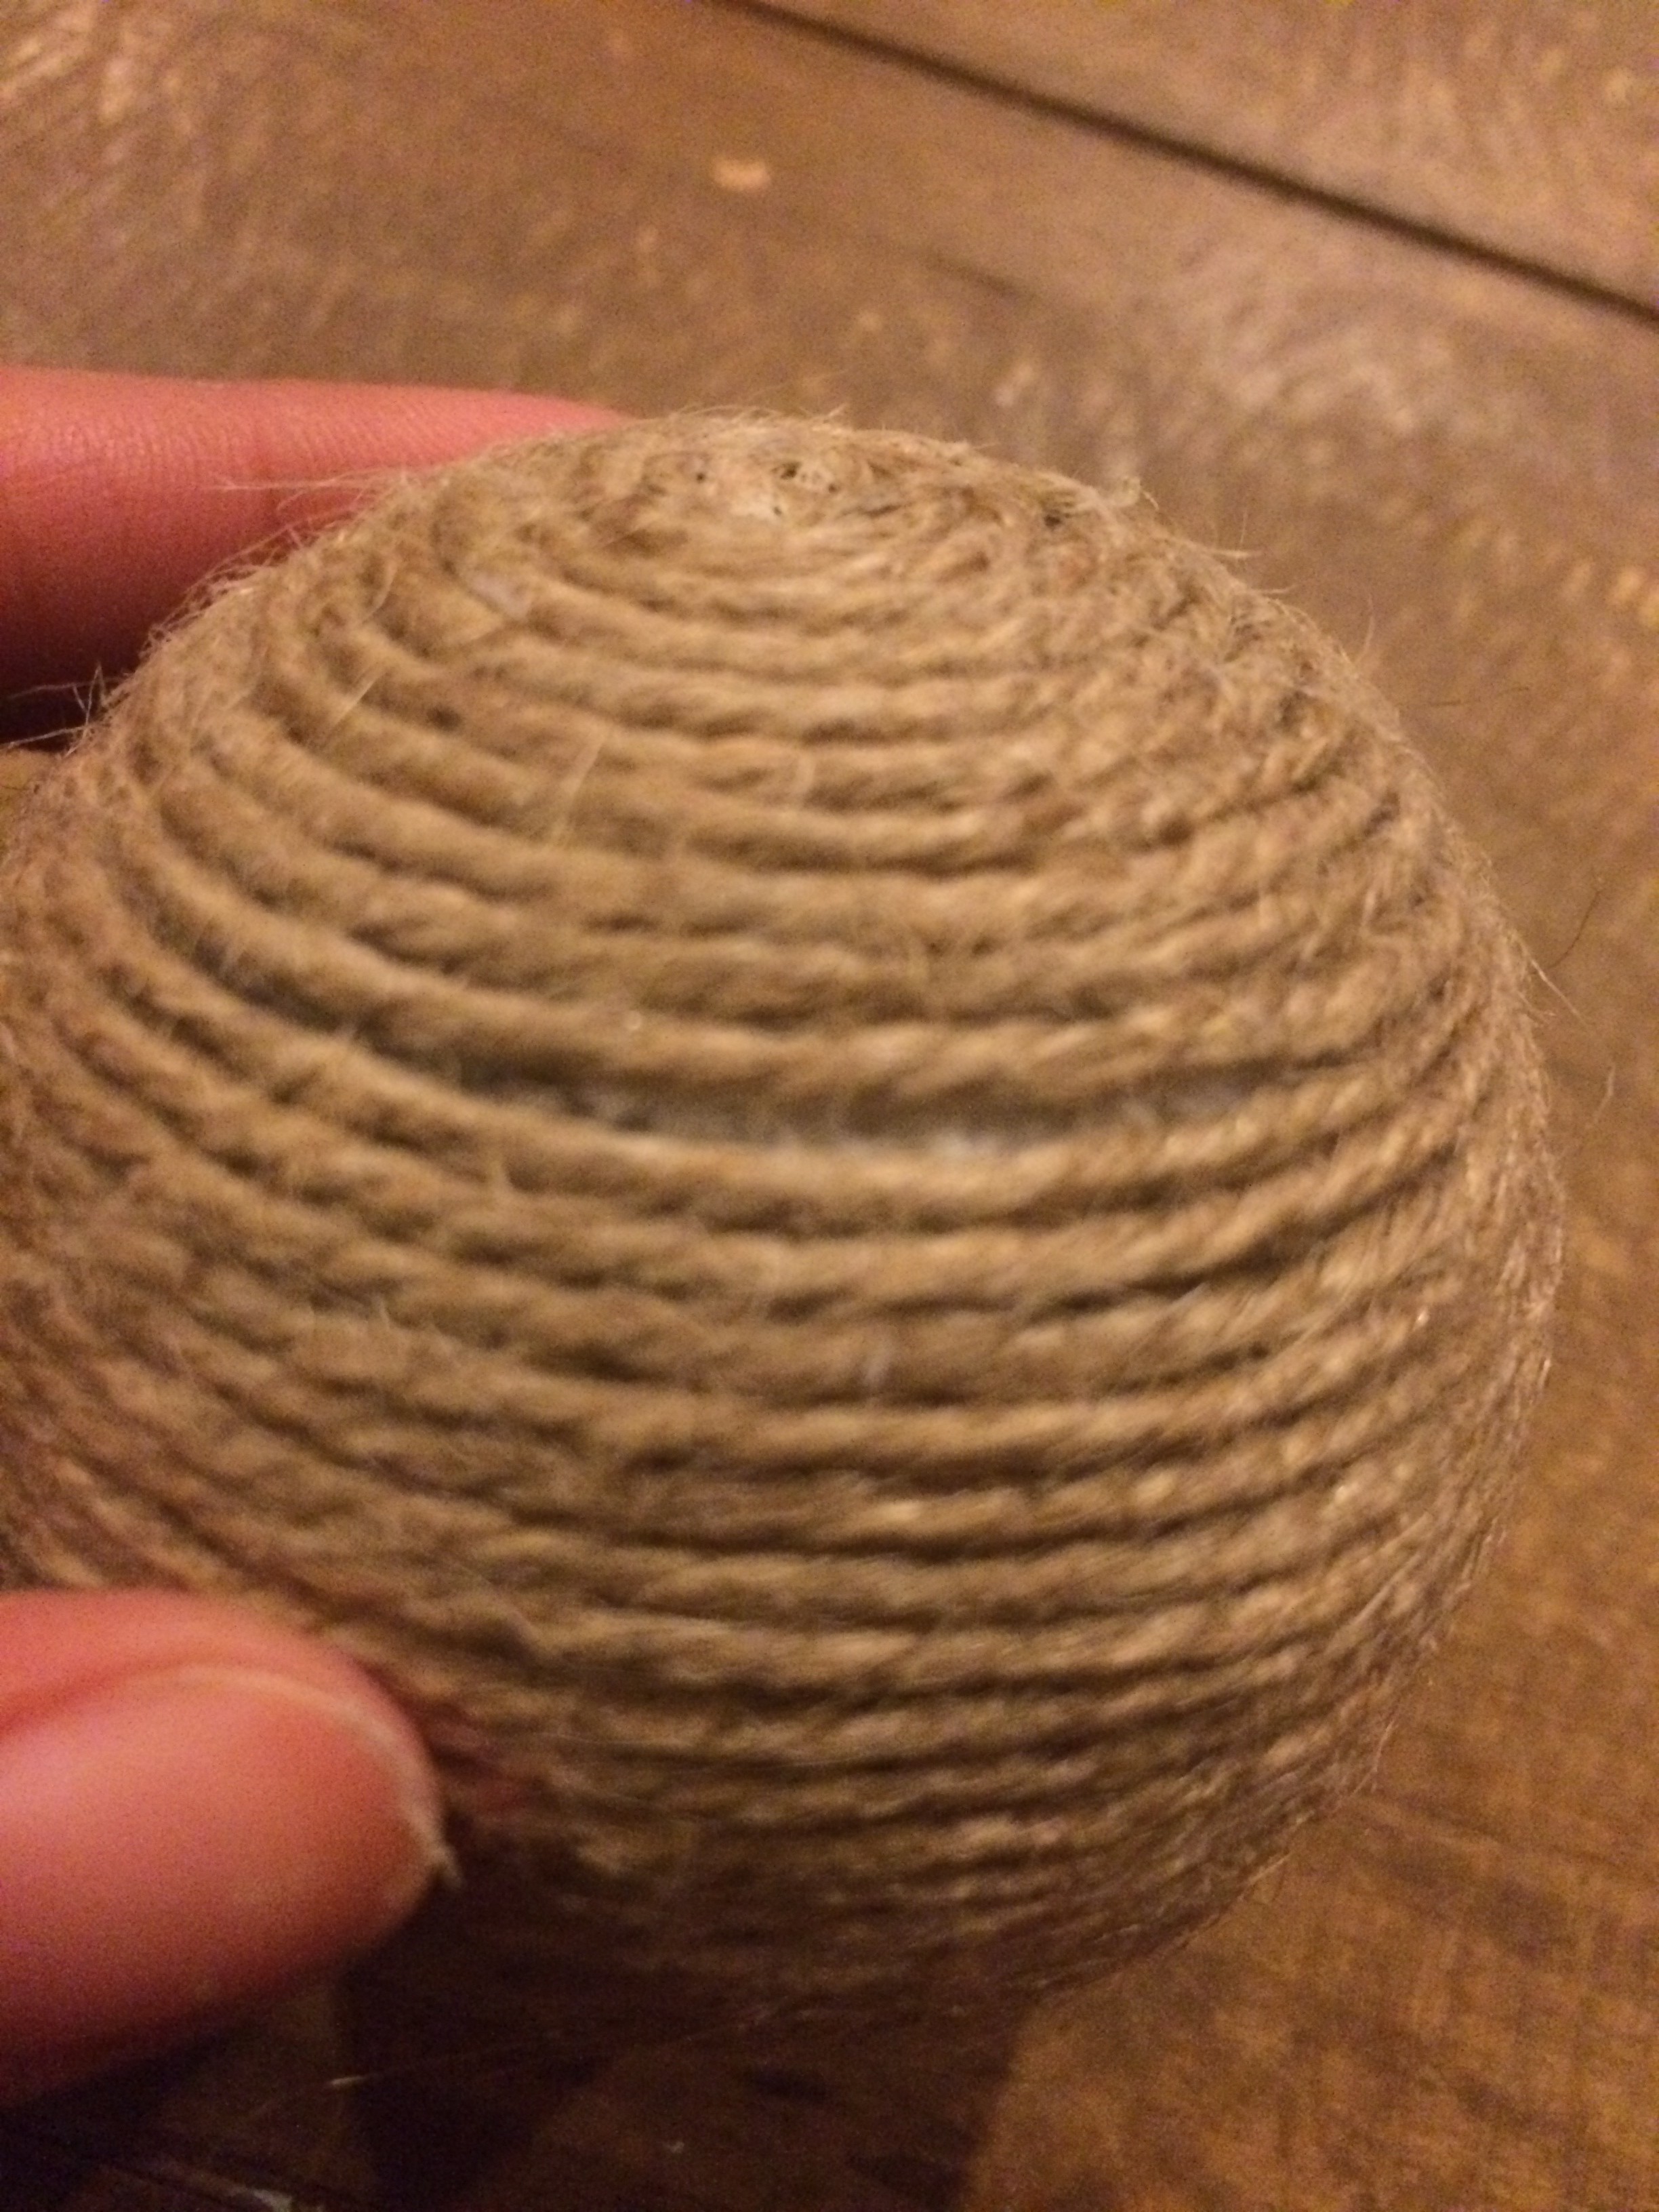
 You might find it easier to wrap the twine around instead. Do whichever is easier for you. I find that twisting the ball is easiest for the first half, than I flip the ball upside down and wrap the twine. If you see little lines of styrofoam showing, don’t worry, that’s easy to fix!
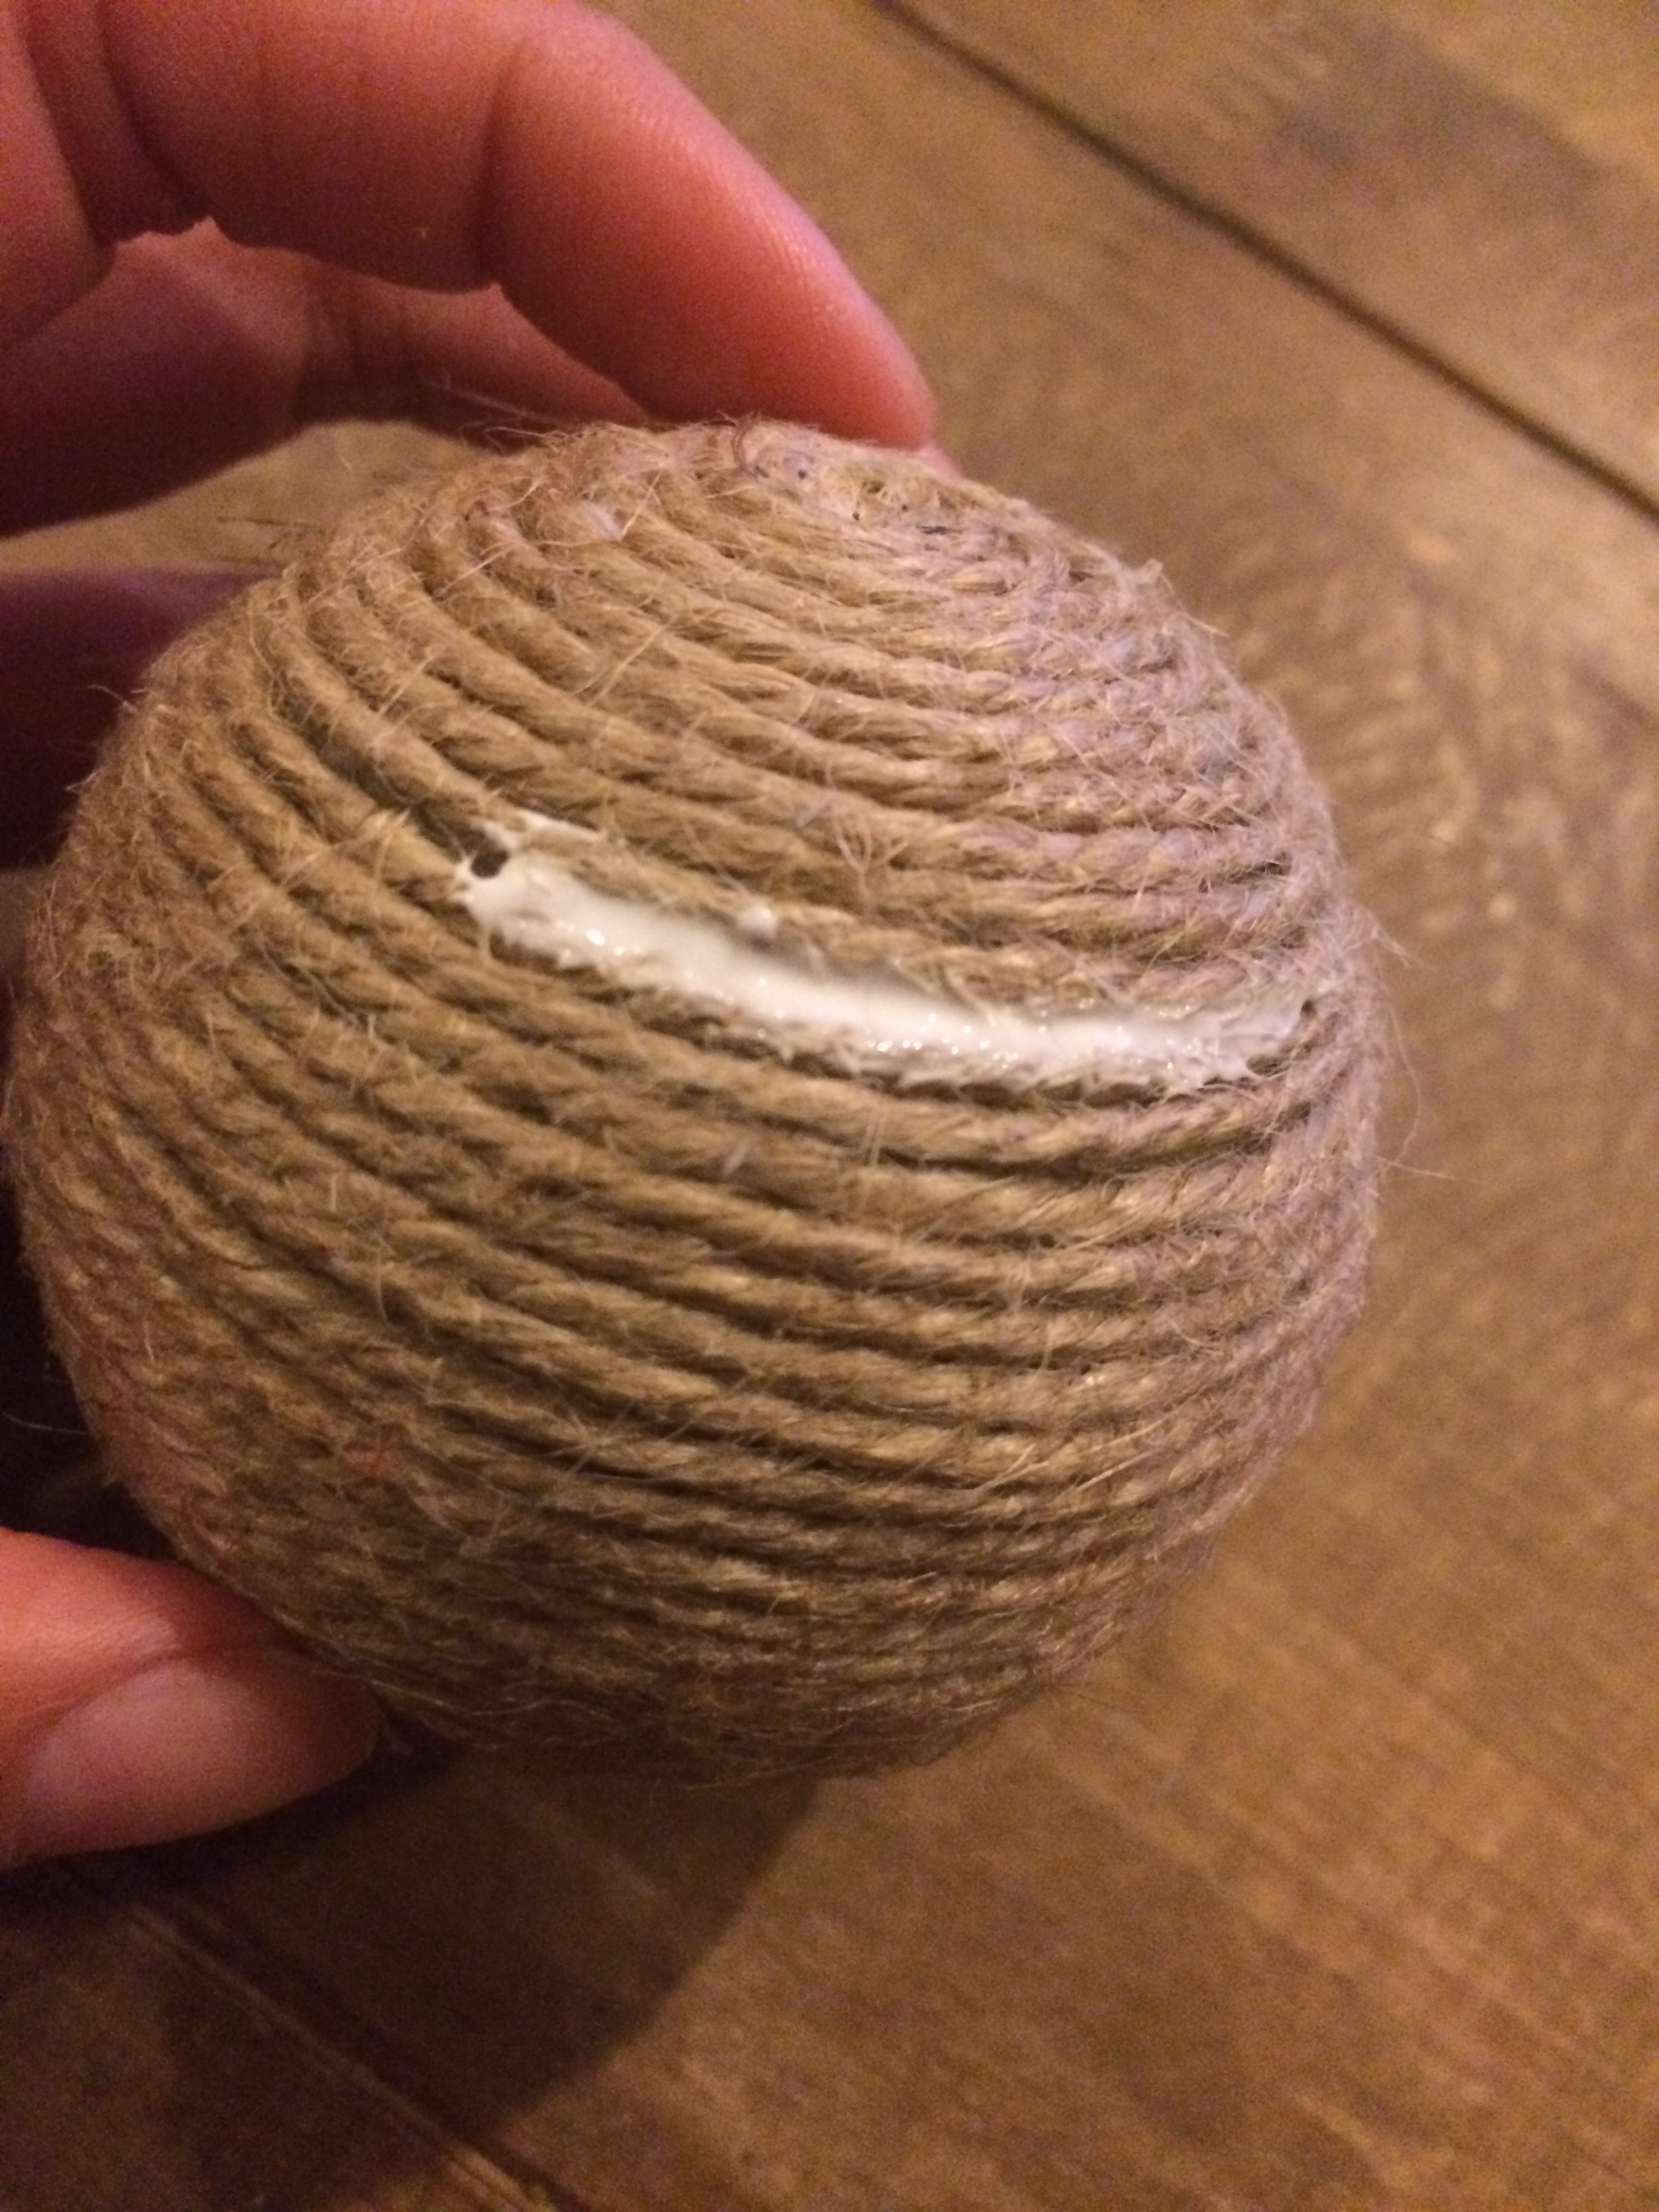
For those pesky places where the twine didn’t cover all the way, cut a piece of twine the length of the space, place a smidgen of glue in the crevice, and place the the piece of cut twine in the space. TA-DA!!
That’s it!! Pretty easy right?! Next up, fabric petal balls!
Leave a Reply